This post and photos may contain Amazon or other affiliate links. If you purchase something through any link I may receive a small commission at no extra charge to you.
My very first leap into machine die-cutting I was super nervous because it was too expensive of a piece of equipment for me to not worry about screwing it up right out of the box. That was many years ago now but I still totally remember the trepidation that came with my first machine. That thing sat in the box for months and I’d get panicky just thinking about opening the box. Yep, I didn’t even have the sucker open and I was freaking out.
So if you’re here because you’re either considering buying a Cricut machine or if you already have one you still need to take out for it’s maiden voyage, I’m here for you. And I totally see you and promise that almost every other crafter started out their Cricut life in the same way, a little freaked out.
But no worries. I’m about to bust out my Cricut Maker to quell those fears and get you on your way to confidently crafting with your Cricut. Today we’re going to talk all about how a Cricut works.

What is a Cricut?

Cricut is a brand of die cutting machine used by all sorts of crafters to cut shapes out of a variety of materials including paper, vinyl, chipboard and more. That makes it a vinyl cutting machine and a paper cutting machine and so much more. Think of it like a printer with a blade, a little machine that whizzes and whirs and cuts any shape you please. What’s great is that it’s faster and far more consistent than cutting things out by hand with, say, a craft knife and a ruler. Plus you can consistently cut the same shape over and over so that they perfectly match. And a Cricut is capable of cutting out extremely intricate shapes that just aren’t possible for most of us by hand.
What kind of shapes can I cut with Cricut?

Anything… Because Cricut die cutting machines use DIGITAL files, you can seriously anything you can put your mind to. Back in the day die cutting machines used cartridges and you only had the shapes on the cartridges you owned. Basically if you needed a cut out of a mermaid you had to buy a cartridge that had a mermaid on it and hoped that it was the same size/shape and all of that you needed and then you cut that ONE design.
But if you’ve been to craft blogs you’ve probably seen free SVG files with neat or on trend designs, right? In fact, I share SVG files here including a Willie Nelson themed Christmas shirt and a graduation year tee shirt with years going all the way through freaking 2040. You mark my words… those TWO DECADES are gonna FLY BY! :)
You can also create your own cut files or access a ton of professionally designed cut files in Cricut Design Space. But wait…
What is Cricut Design Space?

We can’t discuss how a Cricut works with talking about its awesome software… Cricut Design Space is a program where you access pre-made digital designs/projects or create your own and then send it to your Cricut cutting machine to actually cut. In Cricut Design Space there are TONS of projects all ready for you to create that you just have to click a “make” button to get started. And these pre-made projects is a great way to get started and get some confidence in your cutting skills. Or, if you’re ready for it, you can even use Cricut Design Space to design your own cut files.

You can use shape tools to draw squares and lines and type out lines of text that you add to your designs.

Or you can download images that have been created by Cricut to add to your designs. It’s pretty cool because I have no freaking clue how to draw a centaur. And, as it would just so happen, Cricut has a cut file for a freaking centaur, people. I didn’t even know that I needed a hot pink glittery centaur in my life, BUT I DID. This seriously made me so happy :)

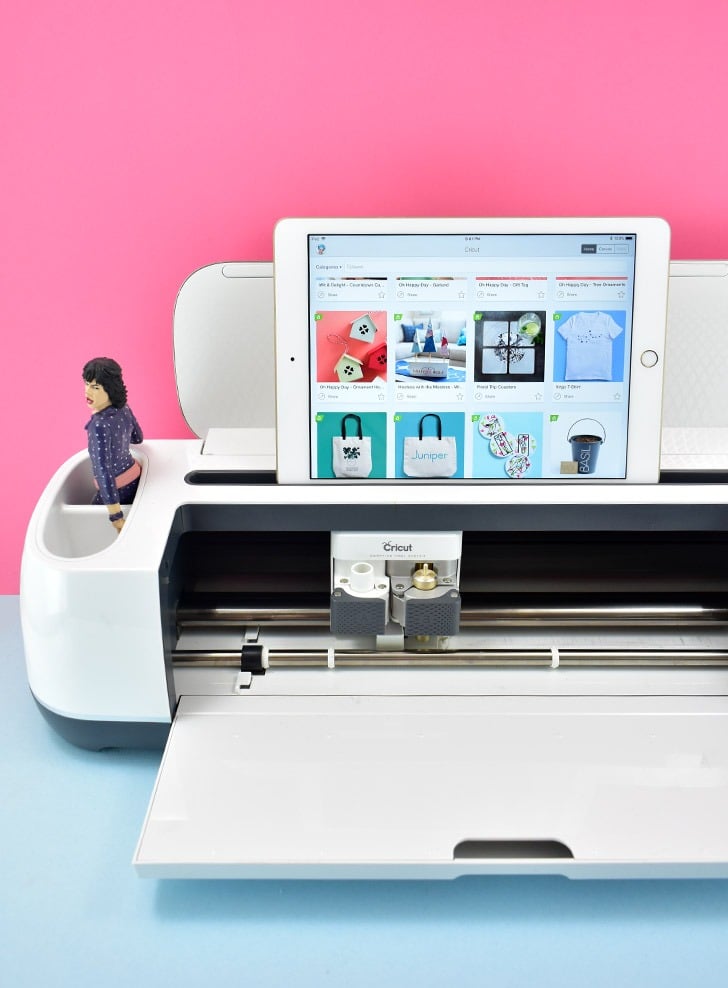
There are lots of ways to access Cricut Design Space. You can conveniently use it in your internet browser or you can download the program to access on your computer without needing an internet connection to work. There is also apps available to download from Google Play (Android) or the Apple Store so you can work with files to cut using a handheld device like your phone or tablet.
How does a Cricut work?
Though it might seem daunting Cricut machines are really easy to work. And once you’ve gotten a few projects under your belt the process will become like second nature.
Apply your material to cut onto a cutting mat.
There 3 different strengths of cutting mat. LightGrip mats are used on more delicate materials like washi sheets and lightweight paper, StandardGrip for most things like heat transfer vinyl and cardstock, and finally StrongGrip used for sturdier materials light thick glitter cardstock. If you’re not sure which mat you’ll use the most, you can always grab a variety pack with all 3 mats so you will have them all readily on hand. <– This is actually how I typically order mine.

Iron-on for tees always goes carrier sheet (shiny side) down and I typically apply paper printed or pretty side up. For lighter materials you can easily smooth them directly onto the mat with your hands, for materials with less bend like stiff kraftboard you’ll need a brayer to help push the material into the adhesive onto the mat. I didn’t get a brayer for a long time because it just seemed like a non-issue but honestly it saves so much material because it doesn’t pop up off of the mat and skitter around ruining the cut. If you’re going to cut anything that isn’t paper or iron-on, it’s a good investment that won’t set you back much at all.
Load the mat into the Cricut.

Turn your machine on. With the material on the mat line it up with the guides on your machine. Press the up button to load the mat into the machine for cutting.
Installing a Cricut blade (or other tool).
If this is your first use you’ll need to install the cutting blade. If you’ve used your machine quite a bit you might be ready to replace the blade. Or perhaps you’d like to use another tool instead of a cutting blade, like a Cricut Pen that will draw instead of cut <– this is cool, right?

To install the blade place your tool inside of the holder making sure that the lip sits flush with the top of the holder. Close the clamp shut and you’re ready to rock and roll!
Sending your cut file to be cut.

At the top right-hand corner of Design Space is a Green “Make It” Button. Click that and you’ll be introduced to a new screen…

On this screen you will adjust your cut as necessary. For example, if you’re cutting on a scrap of paper instead of a whole sheet, you’ll drag the shape to mirror the placement of the paper on the mat. There are convenient measurements on the mat and this screen to help you out.
This is also where you can MIRROR your design. If you’re cutting iron-on, for example, you actually cut it backwards so that when applied it’s the right-way.
Once all set, you’ll hit the green “Continue” button on the bottom-right of the screen.

This is the point when you tell your Cricut what kind of material you’re cutting.

And then your Cricut will help you out telling you which tool or blade to put into the machine so you can get going. Once it’s all systems go, you’ll hit the flashing Cricut button and let your machine do its thing.
Keeping your machine in top condition.

Like anything if you take care of your Cricut machine it will take care of you for years and years and this is an EASY one. All you need is a can of spray air which you can find in the computer section of electronic shops or big super stores. Taking care never to put the spray directly onto any part of your machine, blow the AIR into it to remove any dust, paper particles or glitter. But mostly glitter :)
If you do find that your wheels get gunked up I like to take a cotton swab and TINY bit of rubbing alcohol to rub away any gunk that might accumulate. Or more glitter.
And as far as machine maintenance, that’s it. Seriously.
How to Use a Cricut Maker

Ingredients
- Material to Cut
Instructions
- Locate a project within Cricut Design Space that you want to cut. Select the option to make it. Go through the guided screen selecting the type of material you are cutting.

- The guided set up will inform you which blade you need to cut the material you have selected. Change the blade if necessary. Pop open the holder, take out the old tool and replace with the new. Snap the arm back in place to hold in the necessary cutting tool. Continue with the directions on the screen to cut the project. Once the project has been sent to the machine, the loading light will begin to blink.

- Remove the clear plastic cover sheet and apply your material to the appropriate cutting mat. Not sure which to use? Check out this post from Cricut.

- Load the mat into the machine by placing it within the plastic guides on the door of the opened machine. It is the same size as the mat and will help it feed into the machine straight. Push the flashing button to load the mat.Make sure there is plenty of room in front of and behind the machine for the cutting mat to move through the machine.

- Push the blinking Cricut light to start the machine making your cut. Once done push the once again blinking load light to remove the mat and cut material.
- Use weeding tools as necessary to remove cut material. Place the protective sheet back onto your cutting mat.


What materials can I cut?
We lightly touched on it above but there are lots and lots of materials you can cut using a Cricut. In fact, there’s an entire section of the online Cricut store dedicated to the different materials you can buy and cut.
Before I go I’ll share with you a few of my favorite materials and projects that I’ve made using my Cricut…
One of the most obvious materials the Cricut can cut is paper.

And even if you don’t “paper craft” or scrapbook, you can still make awesome craft like DIY folding paper fans that you’ll wish you had a few of come June!
The Cricut Maker can cut FELT.
And this is awesome because cats love hand-stitched, catnip-filled felt toys like these Lucha Libre Mask toys!

So cute, right?
You can also cut CHIPBOARD up to 2mm thick.
Which is brilliant because you can make things like unicorn eyelashes for a Christmas tree or puzzles with your own cat’s mug on them.

Isn’t that an adorable puzzle. Your cat puzzle might not be quite as cute as mine but that can’t be helped. My Marla is insanely photogenic ;)
And last, but not least, you can cut Iron-On for tee shirts and even these crazy cool mermaid sneakers.

I mean, a mermaid wouldn’t need sneakers most of the time because of the fin, and all. But she’d definitely love them anyway :)
Ready for your Cricut?
Are you pleasantly pleased to see how a Cricut works? Easy peasy, right? Now that the Cricut looks more fun and less scary what project are you going to try?
