This post and photos may contain Amazon or other affiliate links. If you purchase something through any link I may receive a small commission at no extra charge to you.
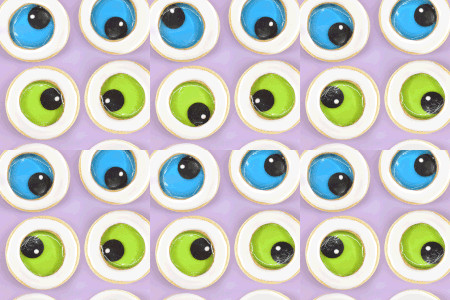
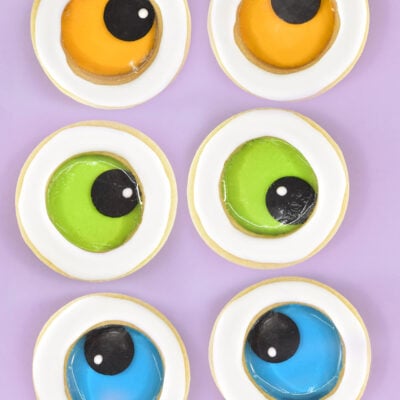
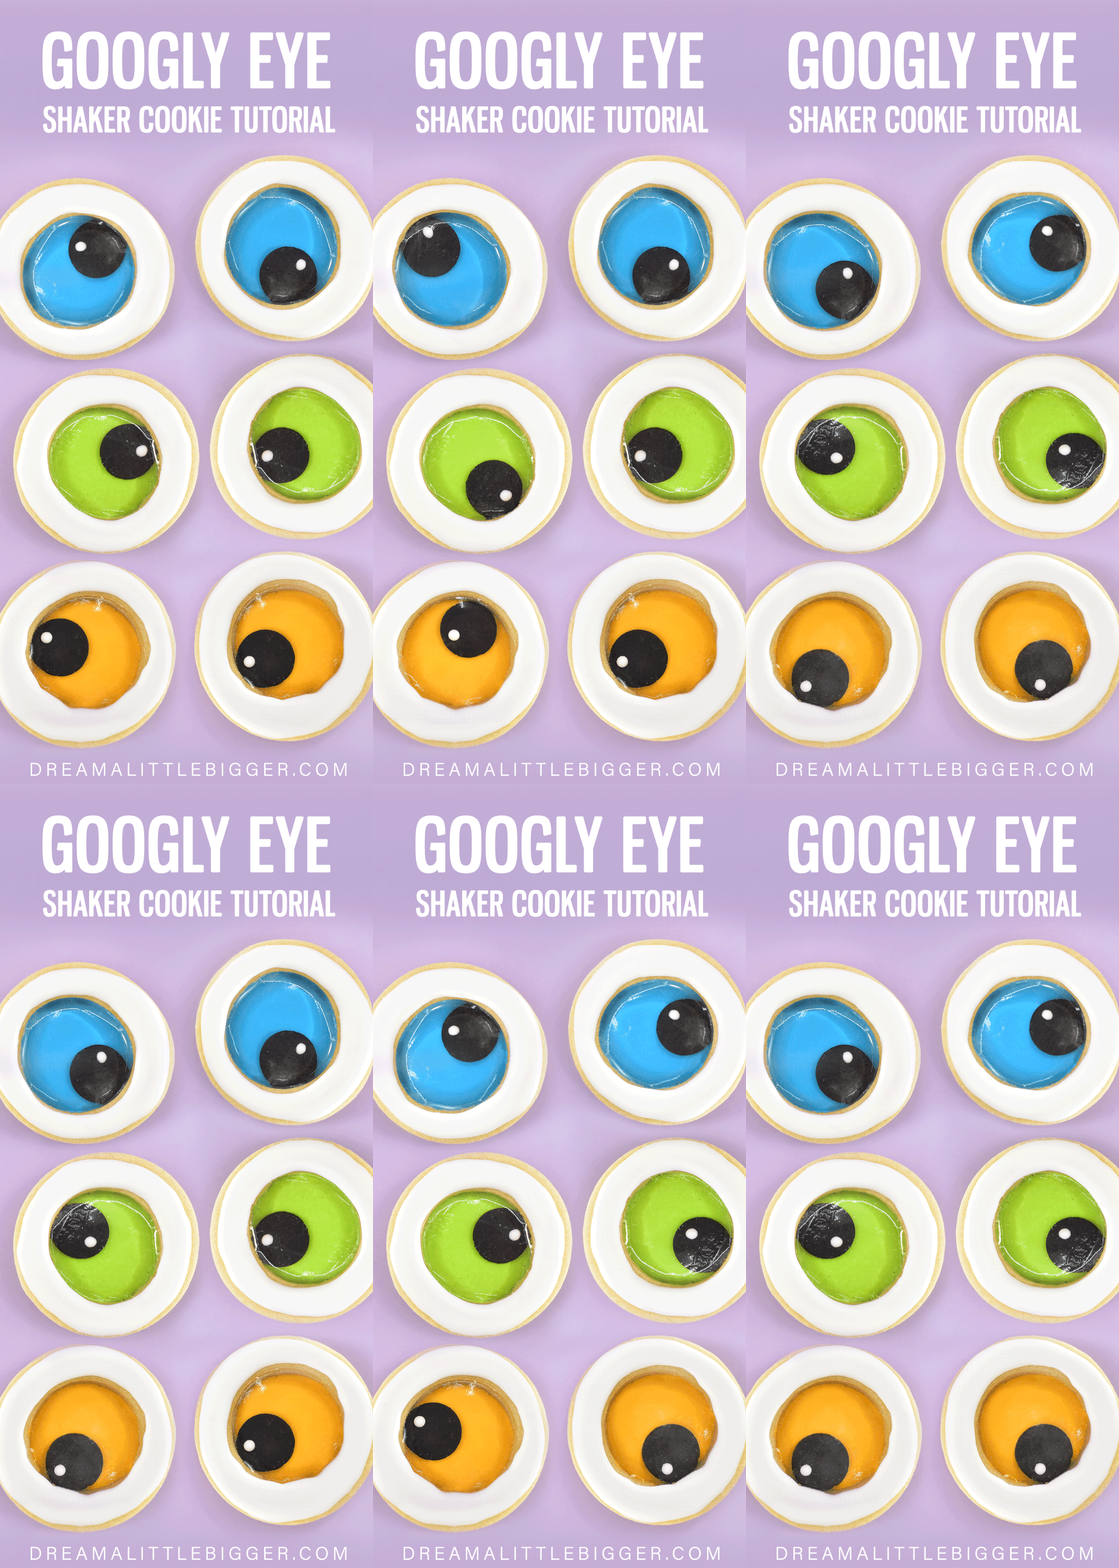
One of my favorite things to do is watch a new episode of The Great British Bake Off with one of my own bakes for the week’s theme. Sometimes I get busy and I cheat and buy something at the store but I really prefer to make my own thing. This year was the first ever Halloween Week and I was here for it! My Halloween bake? Well, all of my Spiderweb Sugar Cookies were long gone, so I made Googly eye shaker cookies made from scratch!
What is a Shaker Cookie?
Shaker cookies are an awesomely interactive cookie experience made by stacking 3 cookies. On the bottom you have a solid cookie – either 100% sugar cookie or sugar cookie with a cutout filled in with a transparent hard candy center. In the middle you have a sugar cookie with a cut out. Typically this cookie is a little thicker than the other cookies to give your shakers room to shake. On top you have the final cookie, one with a cut out that is filled with a transparent hard candy center.
The middle cookie is glued to the bottom cookie using royal icing. The hole inside of that middle cookie is filled with something that will shake like sprinkles. Or in this case, another cookie that looks like a pupil. Lastly your top cookie with a “sugar glass” you can see through is glued onto the middle. You can leave the cookie as is or ice with royal frosting for a little extra flair.
Once everything dries, bing, bang, boom! You can see and hear your sprinkles, or whatnot, moving around inside of the cookie when it is shaken.
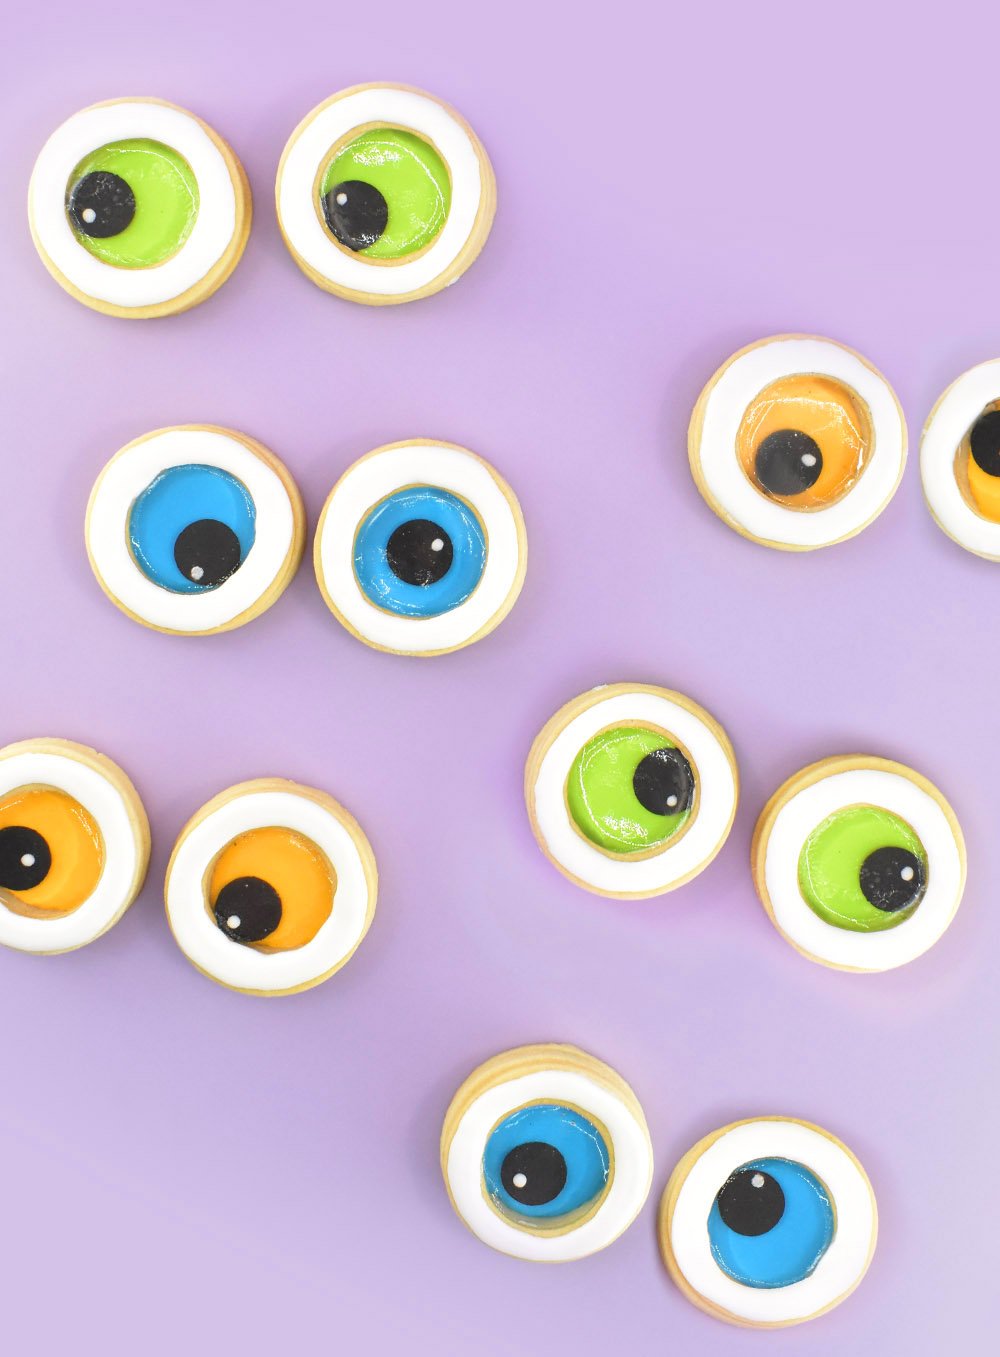
How cool is that?
Back to Bake Off, I normally watch the show on Friday night, the same day it comes out. But it took me a while to figure out how to make these awesome googly eye cookies with the Houston weather. My first attempt worked out really well and I was so pleased. But the next morning as soon as I woke up I realized my error almost immediately. With everything fabric feeling slightly damp as I woke I knew, just knew, that the humidity was insane. Even though it hadn’t rained, the humidity was 94%.
The humidity had gotten to my clear sugar glass toppers and they had gone soft, dropping downward. The concave bubble of sugar meant I lost the jiggle in my googly eye shaker cookies.
You know what they say… If at First You Don’t Succeed…
Cry it out and start over :) And so that’s what I did. I figure that this whole debacle was good for 2 reasons. First, I got to really figure out the easiest way to make these googly eye cookies so that they look amazing without being too difficult for beginners. And secondly, I learned SO MUCH about isomalt. It’s much better than hard candy made from sugar when dealing with humidity. I also learned that isomalt gets CRAZY HOT so be prepared to be very careful and don’t plan on children or overly clumsy people on helping you with this step :)

What is Isomalt?
I’m so glad you asked! Isomalt is a sugar-free sugar substitute made from sugar alcohols. The flavor of the sweetness is very similar to regular sugar but is only about half as sweet. Because it doesn’t easily caramelize, you get crystal clear instead of possibly a little yellow results when making sugar glass with isomalt instead of regular table sugar.
Isomalt is great for home bakers because you can reheat isomalt several times over. This means if you don’t get everything poured right away, you just need reheat isomalt and it’s ready to pour again. Sugar would crystallize with a second round of heat and would be garbage.
Isomalt becomes less sticky in humid conditions than sugar does. This makes it work better in humid environments like Houston, hurrah! This also means that isomalt decorations left out in normal humidity can last for weeks where sugar decorations would eventually become soft and ruin.
My cookies are a good size, I think for a single treat but big enough that the height of 3 stacked cookies doesn’t look insane. I used a 1″ cutter for the pupils with a dough rolled out to a thickness of 2mm. The outer edge of my eyeball cookies is cut using a 2.6″ circle and the inner edge a 1.6″ circle. All of these cutters came from this set of graduated round cookie cutters. The middle cookies are cut from dough rolled out to 6mm thick and the top and bottom cookies from dough rolled to 4mm thick. The extra height of the middle cookies gives your jigglies more wiggle room :)
Supplies You Need To Make Googly Eye Cookies:
My cookies are a good size, I think for a single treat but big enough that the height of 3 stacked cookies doesn’t look insane. I used a 1″ cutter for the pupils with a dough rolled out to a thickness of 2mm. The outer edge of my eyeball cookies is cut using a 2.6″ circle and the inner edge a 1.6″ circle. All of these cutters came from this set of graduated round cookie cutters. The middle cookies are cut from dough rolled out to 6mm thick and the top and bottom cookies from dough rolled to 4mm thick. The extra height of the middle cookies gives your jigglies more wiggle room :)
Color Palette – My Royal Icing Colors
For each icing color I tinted approximately 120 grams of royal icing measured out on this kitchen scale. Before coloring I always add 1 tablespoon of Water Based Gel Whitener to my full batch of royal icing that uses 2 pounds of powdered sugar. This gives you the perfect base to get rich, opaque colors.
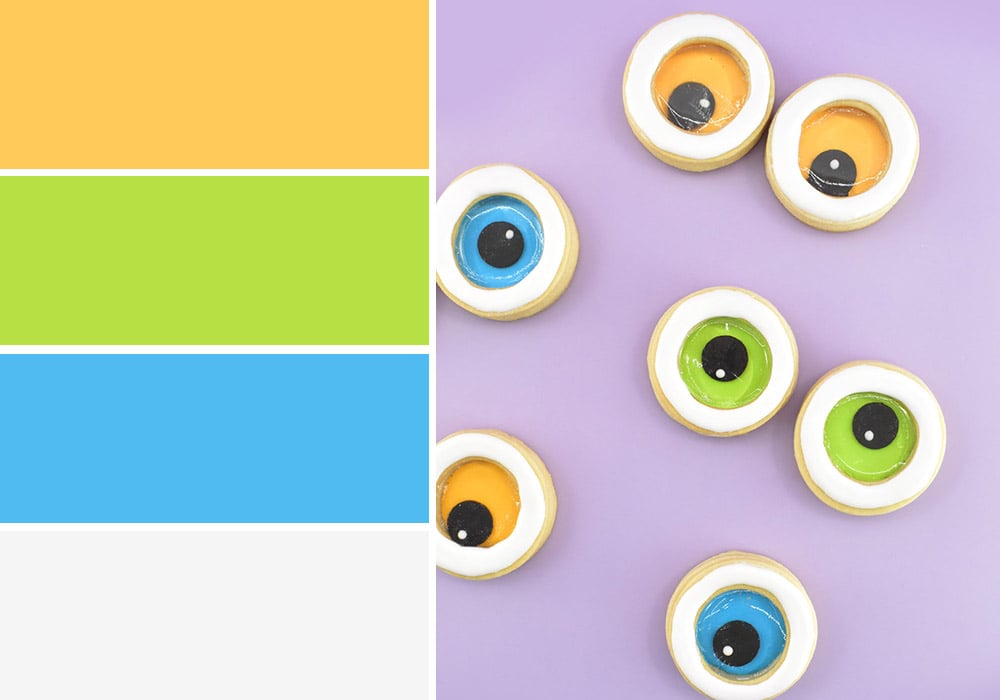
The lime green is made with 4 drops of neon green food color, the blue is 6 drops of neon brite blue food color, and the yellow is 4 drops of golden yellow food coloring. The white is just straight from the original batch of icing.
How to Make Googly Eye Shaker Cookies
Make your favorite roll out sugar cookie recipe. Roll out dough 4mm thick and cut out a solid circle for each cookie and place on a baking sheet. Bake the cookies until done and transfer to a wire cookie cooling rack as soon as stable.
*Quick Tip – Freeze your dough sandwiched between cookie sheets for 30 minutes after rolling but before cutting your shapes. With the dough firm and rigid you can move it around by hand without tearing it or distorting the shape as you cut. With all of the dough the same firmness because of the time frozen, they’ll all spread about the same in the oven. This means you won’t get one layer much wider than other layers ruining the sides.
The middle and top cookies need to be practically identical in order to look good. And, spoiler alert, no round cookie cutters are 100% round or symmetrical. I could not come anywhere near identical shapes by eyeballing the cuts it so I made a cutter guide. But no worries – you’re going to get perfectly matching cookies from the get-go with this quick step…
Creating a Paper Cookie Cutting Guide
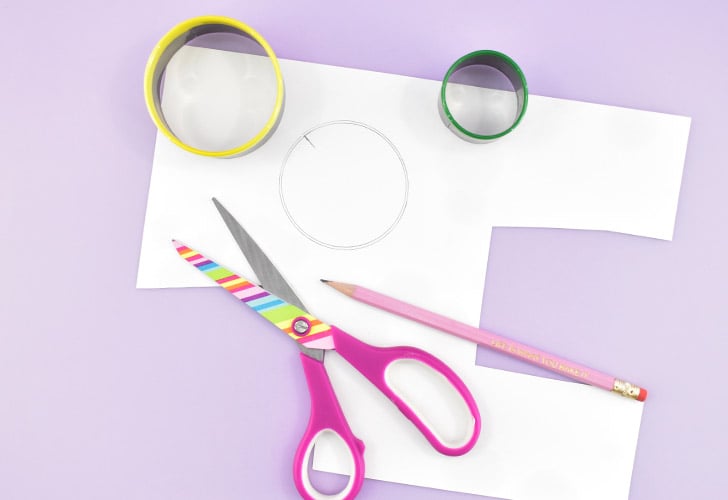
Using a thicker piece of paper, like cardstock, trace the OUTSIDE of the 2.6″ circle cookie cutter with a pencil. The cutter will have a seam where once piece of metal is folded over itself to form the ring. Mark a line where the seam is visible INSIDE of this cutter.
Place your 1.6″ circle cutter centered as well as possible within the drawn circle. Twist the cutter so that the line for the OUTSIDE seam of the cookie cutter matches up with the line you drew for the larger cutter’s seam. Trace the OUTSIDE of the 1.6″ cookie cutter.
Cut the guide out using a pair of scissors. Test that bottom of the the 1.6″ cutter goes through the hole in the middle and doesn’t catch on the paper.
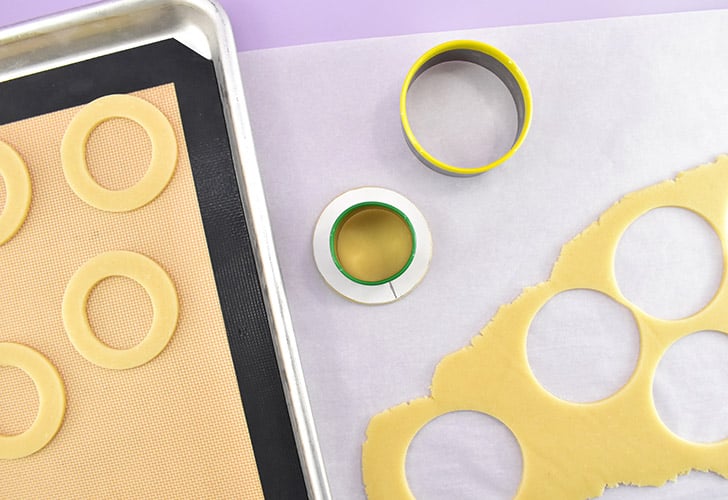
Cutting Out Your Sugar Dough Middle and Top Circles
Cut out a 2.6″ circle. Gently place your paper guide inside of the cutter and line the mark up with the inside seam of the cutter. Gently pull the cookie cutter straight up, keeping the paper in place as you do. Line up the outer seam of the 1.6″ cookie cutter with the line on the guide, making sure the circle fits within the hole and doesn’t overlap the paper. Cut the center of the cookie away and place the ring on a silicone mat lined cookie sheet.
Bake according to your recipe directions and transfer to a wire cookie cooling rack as soon as they are stable enough to move.
Roll another sheet of dough to 6mm thick for the middle cookies. Repeat cutting your open circles using your paper guide, baking, and cooling.

How to Make Thin Pupils to Shake Around
So the first problem I encountered when working these cookies out was that even making a thin 2mm pupil, after adding a layer of royal icing, it became to thick to wiggle. You’d put the top on and that dark little circle would be stuck in place. I was going for a whole lot of shaking and got absolutely none.
The easiest way to fix this is to color a small amount of cookie dough black. You really don’t need much, I’m talking about a goofball sized hunk. Wearing gloves, knead 4-5 drops of coal black gel food color into your dough. Add 1-2 drops at a time until you get a nice, dark color. Take care, though, as adding too much food color will make your dough very wet and slippery.
Another option is to tint chocolate roll out cookie dough or, best yet, to make a chocolate roll out cookie dough using black cocoa powder. This is what I did! Roll that black dough down to a 2mm thickness, cut 1″ circles and bake on a silicone mat covered sheet until baked through.
How to Bake Black Cookie Dough
Because black dough is, well, black, you won’t be able to gauge doneness by the darkening of the cookie’s edges. Instead you’ll need to keep a close eye on the oven. Watch as the tops of the cookies become less shiny. This means the moisture is baking out. The more matte the tops, the closer they are to done. If your dough has cocoa powder, pay attention to the smell. Once you can easily notice that lovely chocolate scent on the air, they’re probably done.
Remove your pupil cookies and transfer ASAP to a wire rack so that they become nice and crisp. Crispy cookies more easily move inside of the cookie making this really important. Being so small the pupils will cool within minutes. Transfer the baked pupils to an air tight container to stay crisp. If you live in a humid place like I do, toss a few packets of food safe silica gel into the container to keep the moisture from getting to them.
Note – As I learned after a trip to the emergency room as a child, silica gel is not edible. They look a lot like sugar packets so be sure to keep away from children to prevent accidental ingestion.
Making the Shaker Cookie Base
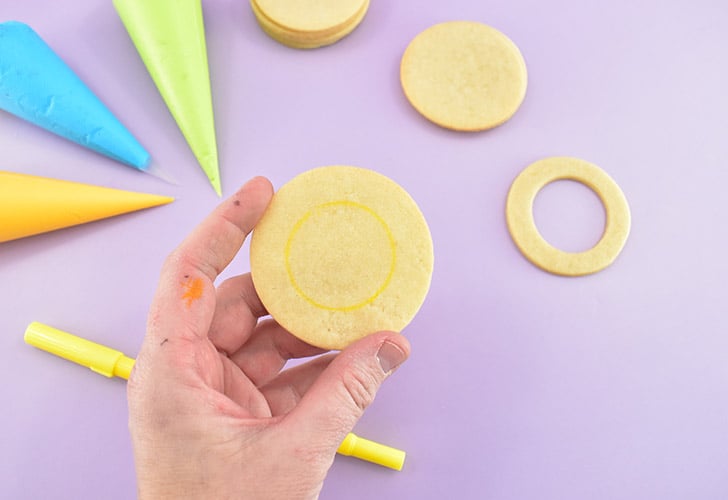
Place your center cookie on top of a solid circle. Use an edible marker to trace the inside shape of the cookie.
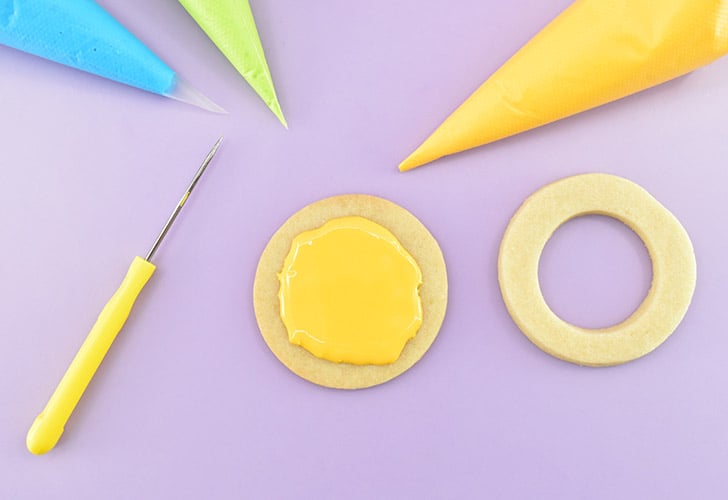
Pipe your colored royal icing into the center of the cookie just barely beyond the line you drew. Or, if you don’t have edible markers, just kind of wing it. Just keep the icing from getting too close to the edge so that it doesn’t squeeze out.

While the icing is still wet, gently place the center cookie on top of the bottom. Allow the cookie to sink into the icing slightly but don’t push it into the icing as it will fill the center and prevent the necessary wiggle room for your pupil to shimmy about. Set aside wet cookies on a cookie rack to dry several hours or overnight.
Quick Tip * An inexpensive table fan is great to help dry your royal icing much more quickly!
Making the Sugar Glass Centers
In order to contain the jiggle when we shake our wiggle eye cookies, you’ll need to seal the top cookie with clear hard candy. This is the most perfect time to use isomalt but you’ll need to be very careful…
Isomalt needs to be heated to a temperature of 338°F and can easily cause 2nd degree burns. I’d recommend wearing disposable gloves while pouring melted isomalt to protect your hands.
How to Melt Isomalt
I made one dozen googly eye shaker cookies and used a little less than 1 cup of isomalt crystals. Any melted isomalt can be stored wrapped up with a silica gel packet or two and will stay good for about a year in a cool, dark place.
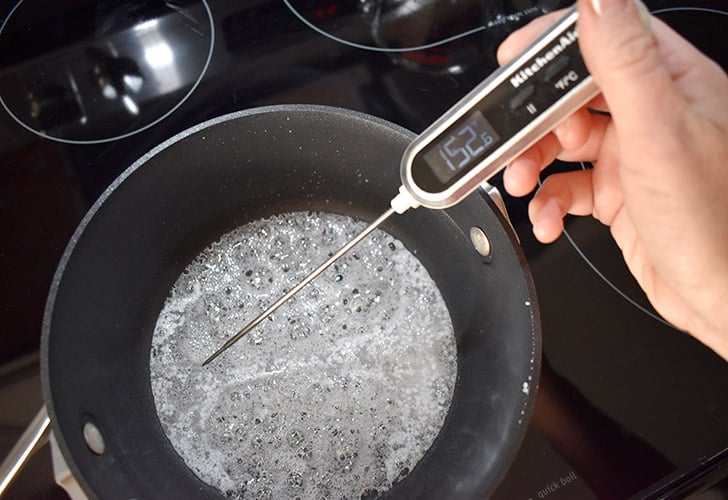
Measure out 1 cup of isomalt crystals and transfer to a heavy bottomed pan or a Pyrex glass measuring cup. Pour in about one tablespoon of distilled water and stir. Your isomalt should be wet similar to wet sand on the beach. Add more water if necessary.
On a stove place the pan onto a burner set to medium. Minding the pot the whole time, hold a kitchen thermometer in the isomalt but NOT touching the bottom of the pan. When the temperature reaches 338°F remove the pan from the heat.
In the microwave place your measuring cup into the center. If using a higher powered microwave, turn the power down to 50%. Heat the isomalt until you can see big bubbles coming up from the bottom of the measuring cup. Carefully check the temperature of the melted isomalt, taking care not to let the probe touch the glass itself. Do not stir. Once the temperature reaches 338°F remove from the microwave.
Allow the melted isomalt to sit on the counter until it it stops bubbling and the temperature drops to about 300°F.
How to Fill Your Cookies with Isomalt
Prepare your cookies by cutting down small pieces of aluminum foil. Place the rings ugly side down where the foil is the smoothest. An crazy creases or imperfections in the foil WILL transfer to the texture of the isomalt so you want the foil as smooth as possible.
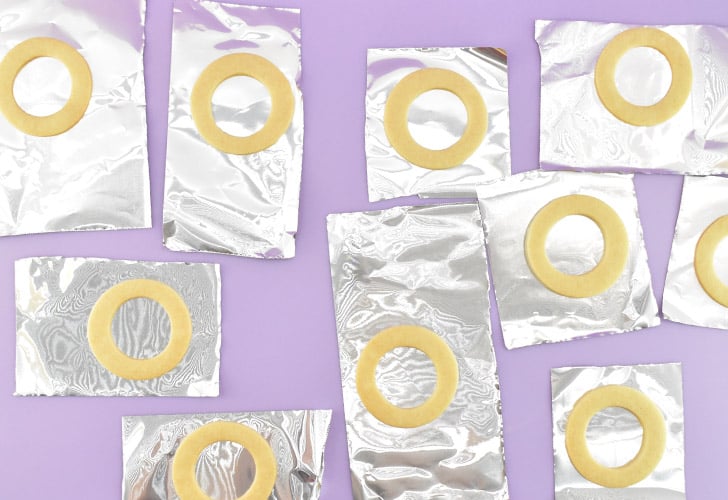
Wearing your disposable gloves, and while the isomalt is still and not bubbling, gently pour into the centers of the cookies taking care not to overfill. Allow the isomalt time to set, about 5-10 minutes. Leave the cookies on the foil until you’re ready to build your cookies.
Quick Tip * if you get a few bubbles as you pour, you can use a toothpick to gently pop them.
Assemble Your Googly Eye Cookies
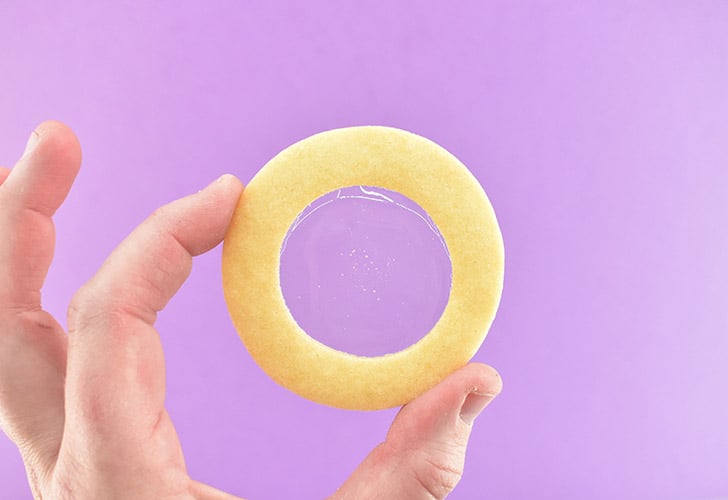
Quickly peel the foil away from the cookie to keep the sugar glass nice and clear. If it is cloudy you can use a kitchen torch to carefully melt the underside of the isomalt until it becomes clear and shiny again. Be careful because open flame is hot and can burn, obviously, but sometimes you have to stat the obvious…

Add a little white dot of white royal icing onto your pupil and use a toothpick or cookie scribe to make nice and thin. Allow the icing a few minutes to set up and then place the pupil into the eye.

Pipe a line of white royal icing on the backside of the isomalt cookie and place on top of the cookie base with the pupil in place. Give the cookie a quick shake. If the pupil doesn’t move, let the first layer firm up then add another line of royal icing on top to create a larger gap between the isomalt and the pupil giving it room to wiggle.
Finishing the Cookies

Pipe a circle on top of the sugar cookie only and smooth out using a scribe tool, popsicle stick, or toothpick. Set the cookie on a rack and allow to dry in front of a fan for a few hours. Cookies are best assembled right before use.
Googly Eye Shaker Cookies
Equipment
- Cookie Scribe can instead use popsicle sticks or toothpicks
- Silica Gel Packets optional, but good in humid environments
Ingredients
- 1 batch Sugar Cookie Dough use your favorite recipe
- 1 batch Royal Icing use your favorite recipe
- Neon Brite Blue Gel Food Color
- Neon Green Gel Food Color
- Golden Yellow Gel Food Color
- Isomalt
Instructions
- Make your favorite roll out sugar cookie recipe. Roll out dough 4mm thick and cut out a solid circle for each cookie and place on a baking sheet. Bake the cookies until done and transfer to a wire cookie cooling rack as soon as stable. These are your bottom cookies.
- Trace your 1.6" cookie cutter onto a piece of paper. Trace the 2.6" cookie cutter centered around the first. Cut the circles out and use as a guide to cut the cookies identically.
- Use your paper guide to cut out one dozen 4mm thick (these are your top cookies) and one dozen 6mm thick (these are your middle cookies) round with holes in the center.Bake according to your recipe directions and transfer to a wire cookie cooling rack as soon as they are stable enough to move.
- Tint a ball of dough, approximately the size of a golf ball black using gel food color. Roll to a thickness of 2mm and cut out 12 1-inch circles. Bake until cooked. Immediately transfer to a wire rack to cool completely. Store in a sealed container until ready to use.
- Divide, tint, and bag royal icing in the colors neon blue, neon green, golden yellow, and white.
- Ice the center of the bottom cookie with yellow, green, or blue icing. Gently place the middle cookie onto the wet icing. Set aside to dry several hours or overnight.
- Melt the isomalt in a saucepan on the stove or in an oven safe glass measuring cup in the microwave to 338℉. Allow to rest on the counter until the temperature cools to 300℉ and there are no visible bubbles.
- Place the cookies onto smooth pieces of aluminum foil. Gently pour the melted isomalt into the centers. Allow the fully set, anywhere between 5-10 minutes.
- Using white royal icing make a small dot on each pupil cookie. Allow a few minutes to begin to set and then place one in each eye cookie.
- Squeeze a line of white royal icing onto the backside of the top cookie and place on top of the middle cookie. Ice the cookie portion of the tops with white royal icing. Allow to harden several hours or overnight before stacking.
Notes
You Might Also Like
Filed Under:
- Crafts
- ·
- Cute Food
- ·
- Decorated Cookies
- ·
- Fall
- ·
- Food Crafts
- ·
- Halloween
- ·
- Occasions


