This post and photos may contain Amazon or other affiliate links. If you purchase something through any link I may receive a small commission at no extra charge to you.
This year I have been super feeling holiday and seasonal décor. It’s been all pumpkins and Fall colors and I even made a piece of DIY art that would better match my Fall Vibes. Hey, there, Fall. Seriously, I’ve been all. over. it.
And so I’ve been digging through my boxes and totes, still packed from one of 2 moves in as many years in search of my holiday decorations. One thing I was particularly looking for as my DIY Drilled Pumpkin Light I made back in 2016. But, alas, it must be one of the things that got sacrificed to the U-Haul gods. I was bummed. But then I remember that I’m DIY diva :)
While going through my fall things I did find my realistically painted pumpkins and my DIY warty pumpkin. The warty fella’ and the smaller of my painted pumpkins are on the front porch, nestled in sweet potato vine I grew for fall because it looks an awful lot like pumpkin vine to me.
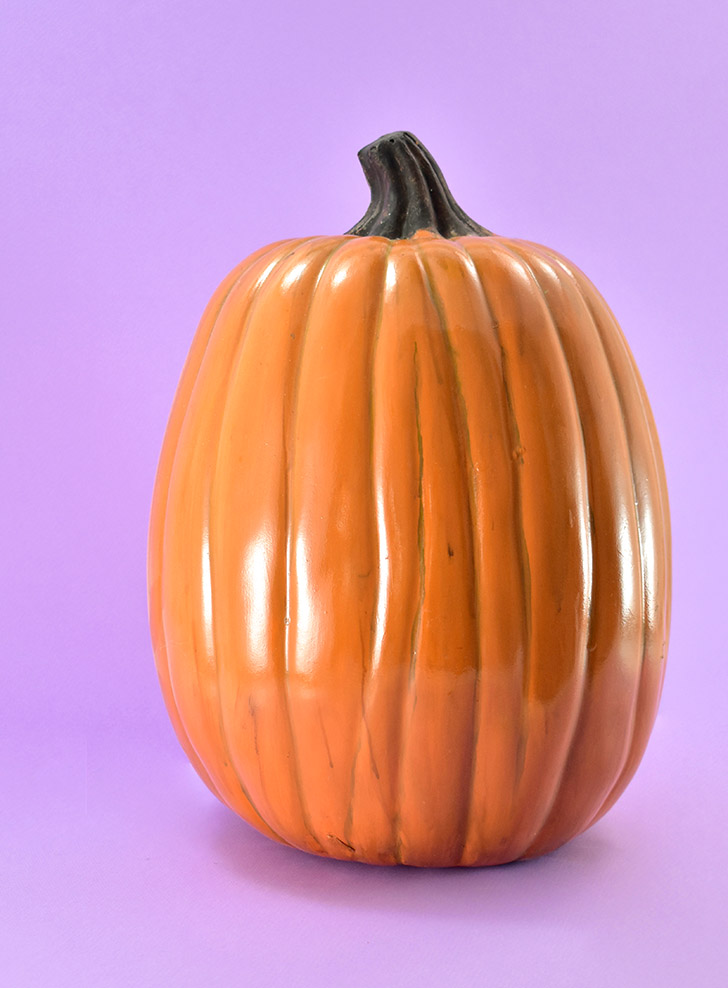
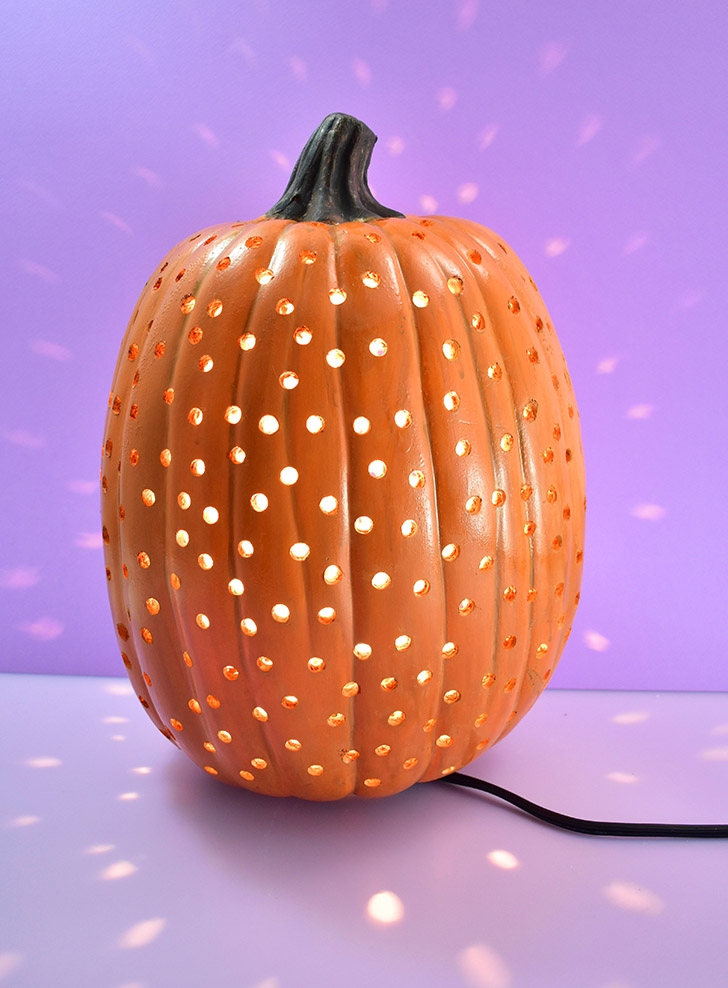
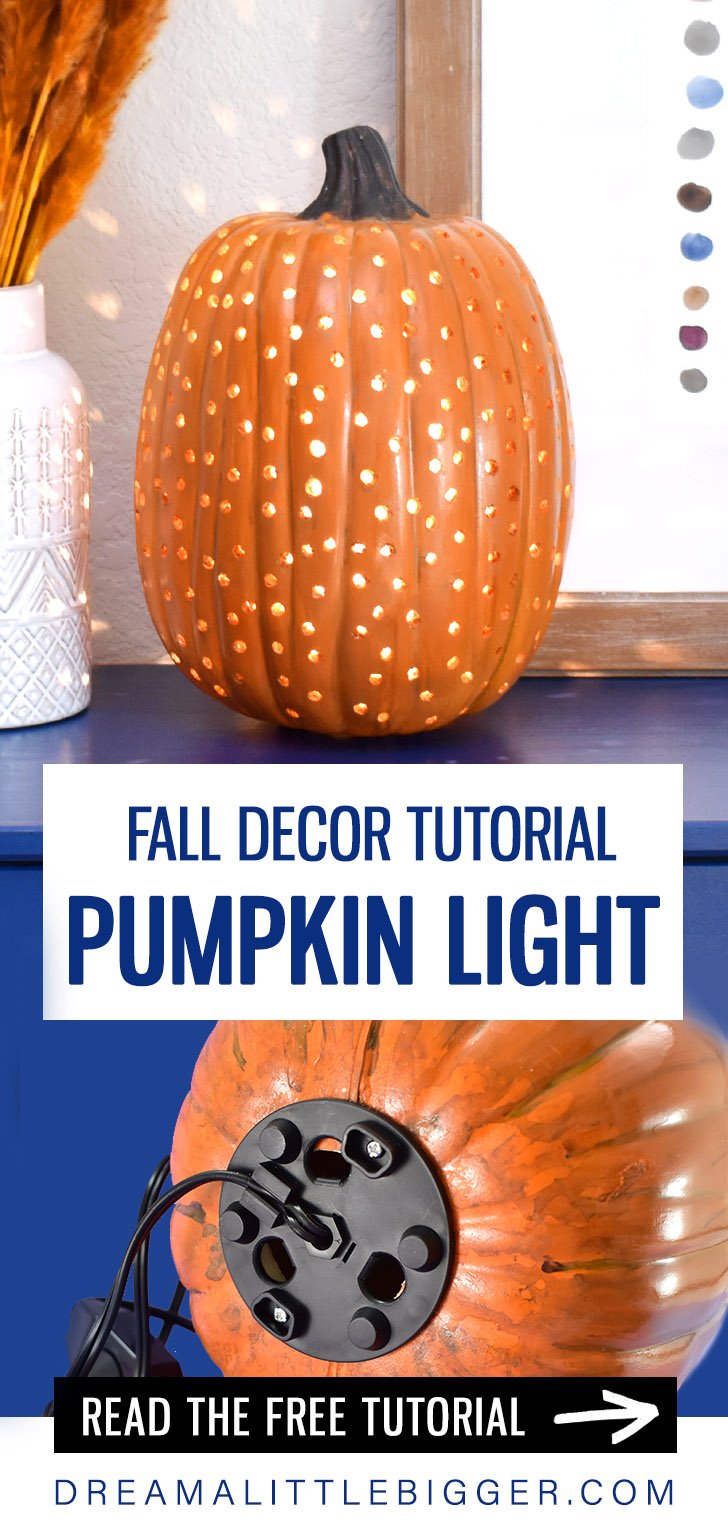
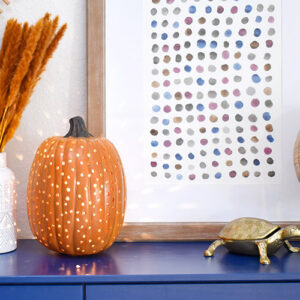
The larger of the painted pumpkins crossed paths with power tools and became my brand new Drilled Pumpkin Light. And with new lighting hardware, my newer version is SO MUCH BETTER than the original. Want to see how to make your own?
Supplies You’ll Need to Make a Drilled Pumpkin Light:
- Himalayan Salt Lamp Base Assembly
- Fake Pumpkin (Available at Craft Stores)
- 2 Small Screws
- Craft Acrylic Paint
- Cotton Swabs
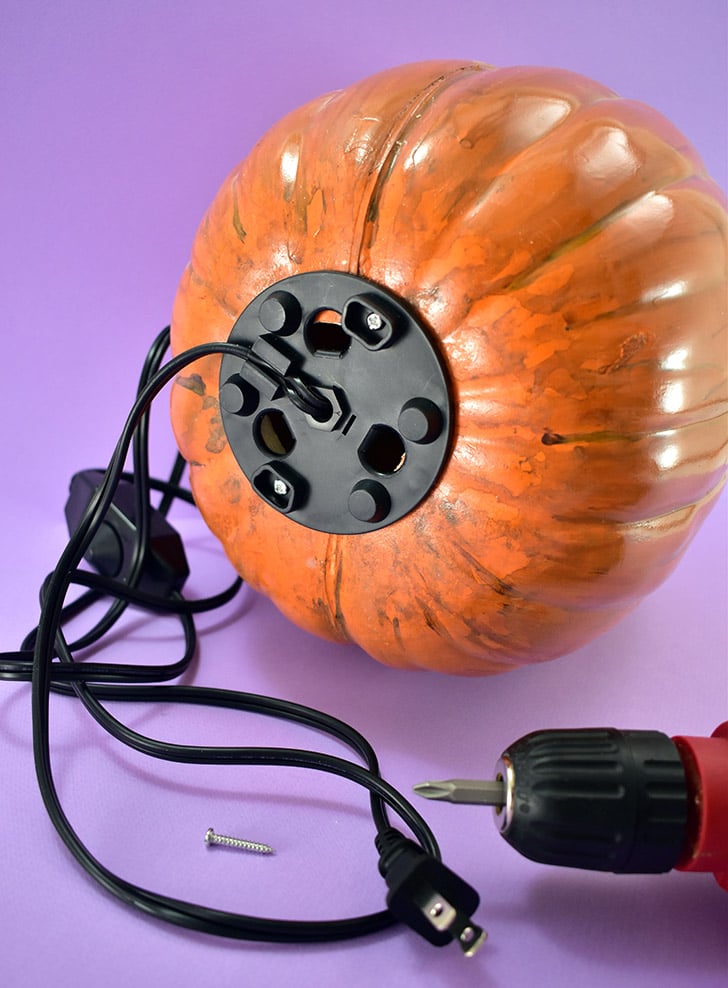
Previously I had used a candelabra light kit for this project and it worked. But using a Himalayan Salt Lamp Base is where it’s AT! With little feet on the bottom this pumpkin always sits perfectly straight. Plus if you get the assembly that I link to (a 2-pack) the light is dimmable!

Tools You’ll Need:
- Power Drill
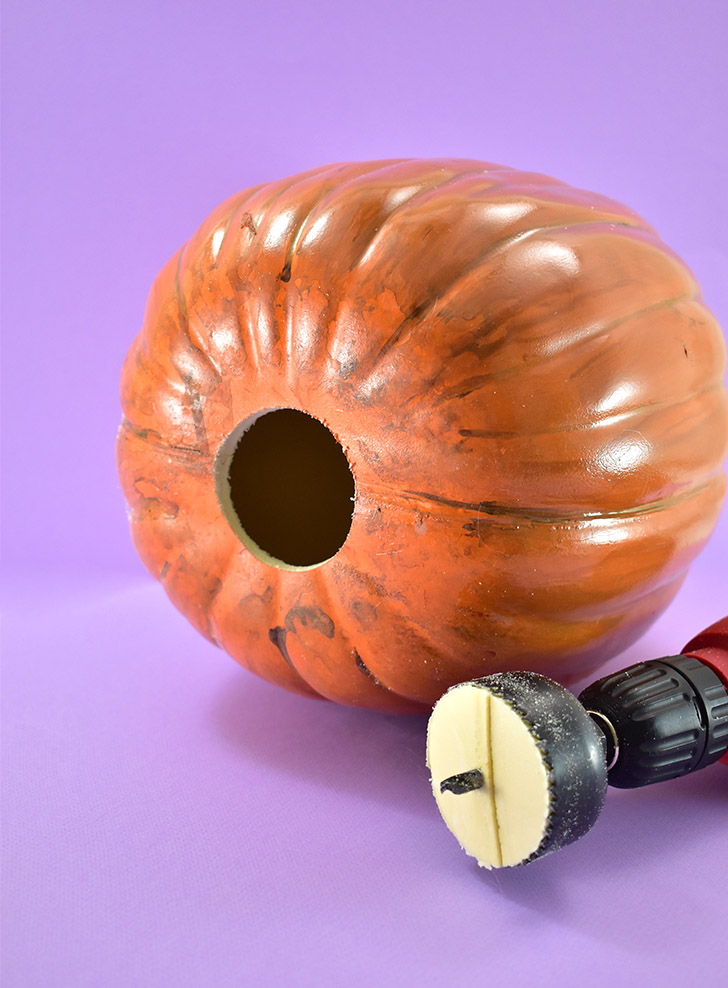
- Hole Saw (optional)
How to Make a Drilled Pumpkin Light:
If you want to paint your fake pumpkin to look more realistic, do that and give it plenty of time to dry. Here’s a link to that tutorial, again, if you need it: Paint Fake Pumpkins to Look Real (ish)
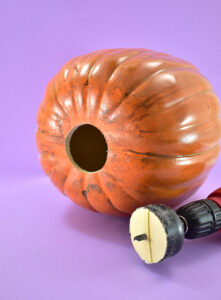
Measure the size of your Himalayan Light Base. Cut a whole in the bottom of the fake pumpkin, directly in the center. You can use a hot knife or a craft knife. If you have a hole saw, however, it will make quick and neat work preparing your pumpkin to be lit.
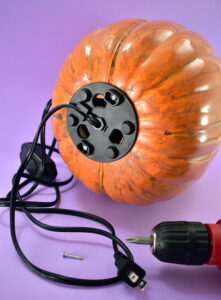
Use small screws (whatever you have on hand that will fit in the holes that will work) to attach the lamp base to the pumpkin. Remove the assembly and place your screws somewhere you can easily find them again.
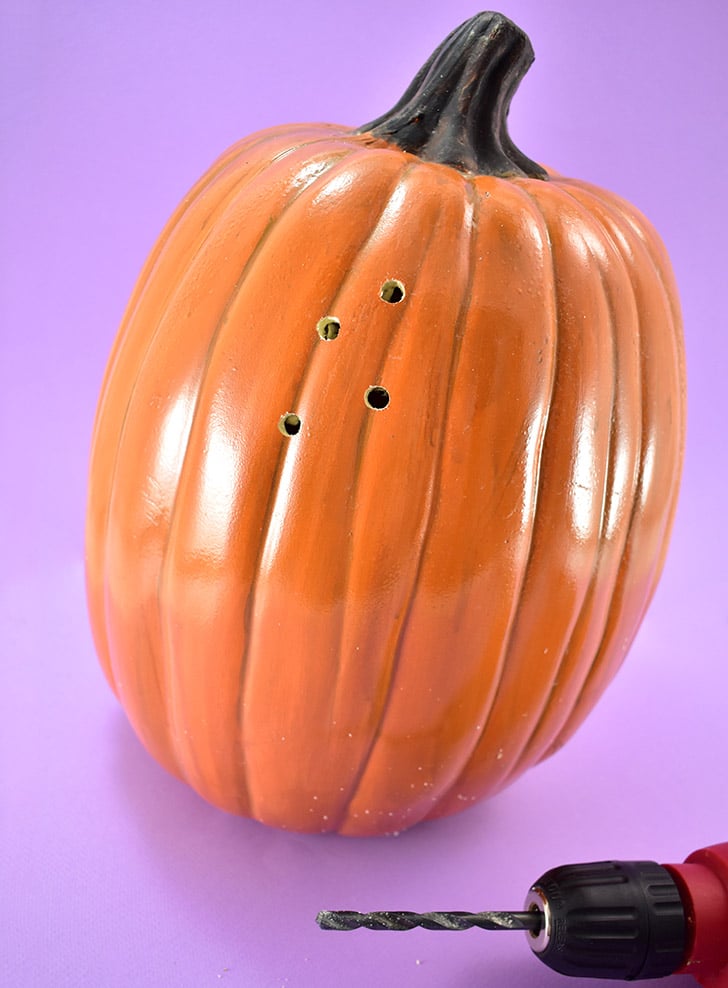
Grab a drill bit that is the size of the holes you’d like in your pumpkin light. Load into the drill and begin randomly drilling holes all around the pumpkin.
*Note – for cleaner holes be patient and drill slowly. Use a wood skewer, or something similar, to knock away any tiny foam that clings to the hole. These will be noticeable when you turn your lamp on.
Use a cotton swab and orange paint and cover the foam of each drilled hole. Allow time to dry.
Add a light into the lighting assembly. Screw back into place using the original screws and screw holes you previously created.
Plug your drilled pumpkin light in and enjoy!
DIY Drilled Pumpkin Light
Equipment
Ingredients
- Foam Craft Carving Pumpkin
- Acrylic Craft Paint in Orange
- Himalayan Salt Lamp Assembly Base
Instructions
- Measure the size of your Himalayan Light Base. Cut a whole in the bottom of the fake pumpkin, directly in the center. You can use a hot knife, craft knife, or hole saw.
- Use small screws (whatever you have on hand that will fit in the holes that will work) to attach the lamp base to the pumpkin. Remove the assembly and place your screws somewhere you can easily find them again.
- Slowly drill holes randomly around the pumpkins surface.
- Use a q-tip and orange paint and cover the foam of each drilled hole. Reattach the lighting assembly.
This post has been updated. The original version of this post was published on September 13, 2016.


