
This post and photos may contain Amazon or other affiliate links. If you purchase something through any link I may receive a small commission at no extra charge to you.
When I was a kid I had an air plant that was hot glued into a seashell. I know it was hot glued because I messed with it for ages and ages. Picking at it but doing my best to not actually remove the glue that was holding the plant in. I have no clue where it came from but I do know that we didn’t know how to care for it. Eventually it died and I had a dead air plant inside of a seashell. But I still kept it because I thought it was really neat.
Here lately air plants have been getting pretty darn hot. And why shouldn’t they? They are awesome little things that seemingly live on air alone (not really and that is why the plant of my childhood didn’t survive). They’re neat for crafters because you can hot glue them onto other things. And that’s something we crafty people are really interested in. Gluing stuff to other stuff. Bam. I’m a crafty genius.

And so I ordered a good number of air plants from Etsy from a shop called Twisted Acres. And the thought of hot gluing a living thing made me shirk back when it came right down to it. So they sat in the box they arrived in for a few days and then I had to leave town for a week. I just knew that when I got back home I would have another dead air plant story under my belt. But luckily all but one survived. Wahoo!
And still not into the whole gluing idea I decided to make something to wrap around them. And as it turns out, these suckers are pretty cool and I see them as fab gifts!
For this project you will need:
- Air plants (got mine here)
- Floral aluminum wire
- Pliers and Nippers or a Multi-Tool

This is the wire I used. I have no idea what the gauge is or any of that but it is thicker and easy to bend. The link in the materials list is exactly what I purchased.

Take the wire and wrap it around your fingers to create the shape for the plant to rest in.

For larger plants you’ll need to use more fingers to help make the shape, less for smaller, etc. Start looping closer to your hand ending toward your finger tips.

Remove from your hand and pull the wire from the smallest point and up through the back of the coiled shape. Trim so that you have enough length to form a loop to hang from.

Gently place your plant, root end first into the coil you have made. Using your pliers or multi-tool bend in the loose wire where you first started coiling on your finger inward to hold the plant in. You want it to be loose enough for the plant to be able to grow but firm enough that it won’t topple out.

You can aim for perfect spirals to hold your air plants or go kind of nuts. I wanted an avant garde type of look here with the wire going off to the side much further than they needed to. Those were the ones I wound up liking the best in the end!

Marla liked them all. To be honest I should have seen this coming. All of my cats seem to be on a seek and destroy mission with any plants I bring into this home!
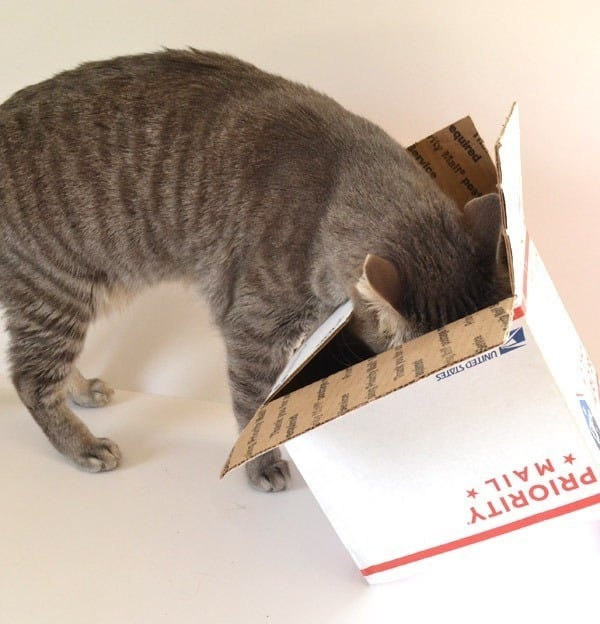
Even put back into the box they arrived in wasn’t enough. Right after this she knocked over my box of paint brushes and then sat down among them with her tail whipping around. The whole thing was a mess!

I made several with a generously sized hook to hang from. But after fighting the cat to keep my plants intact I formed a tighter loop so they can be hung on the wall higher than any of them can reach.

It works pretty well except that I am going to have to repaint the wall. For about 10 minutes every day I hear her chirping, jumping and sliding down the wall in an attempt to get them. But so far she has been unsuccessful.
The smaller ones I plan to give as gifts and the three larger will continue hanging in my bathroom. And to keep them alive, I spray with water every once in awhile and when they start looking very thirsty I let them sit in a bowl of water for about 15 minutes. They’re going very strong and I’m excited that these air plants will not only look pretty in my little half bath, but they’ll also live!

Great idea for displaying.
Thank you for being real about us who are just starting, and for the inclusion of a story which gave me the entire visual of attempting to create when the cat wants to help you out..a lot! I did learn as I have my tools without the knowledge! Yours, I can relate to!
God bless you and thanks for the ideas!
From the latest videos watched I can tell you that no copper wire or super glue. Other kinds of glue are fine – E6000 comes to mind. Copper color wire is ok but not real copper. I love the twists you have made. Just saved me a bunch of money! I have cats too and that is about the only safe way to keep them alive and not eaten in my house. I have no idea if they are poisonous to cats or not. I just like the looks of them.
This is an awesome, informative post! I found you via Pinterest and SO glad I did! You write well and the whole post was so much fun to read, loving the pictures of the cat helping too! Anyway, I really enjoyed it and am excited to try your wire wrapping tutorial; my air plants are in a glass ball rotting and I don’t want to make the same mistake with the next ones!
Muy bonitas y además ¡escribes muy bien!
Felicitaciones!
These are adorable, Allison! So clever!
Great tutorial!
Thank you Allison!
I too have ordered my air plants, and they were delivered. I must have checked my tracking # 10 times a day!
Mine are just barefoot as I continue to contemplate different housing ideas!!! I have glass orbs for a few, but in my opinion the orbs are mainly for the smallest of the tillandsia! I have a butzii that is nearing 1 foot!!!!! I know I couldn’t put him in a small glass orb (Especially since he is a pseudobulb it is not only important that he has good air circulation but it is important that he is upside down so that the Bulb does not get rot.)
You have given an awesome idea! Thank you so much for sharing it! I do have a question however, I am wondering if it is okay to use wire made from galvanize steel?
I don’t think there would be a problem with the galvanized steel. I say go for it!
Good Idea. Do cats really chirp?
Not all of them do. I only have one out of four and she’s definitely her own little individual :)
My neighbor across the street always had these when I was growing up, and they always fascinated me! I remember once watching her set them in her sink with water a few inches up, and set the timer. Hers were in shells and arrangements that she’d collected from all her travels. THANK YOU! Now I even know where to get them! You’ve brought back some wonderful memories, as well as given me some some little gift ideas! Again, Thank you!
So cute! These would make excellent gifts for teachers for Christmas!
Super cool, Allison! I have been wanting to get me some air plants.