
This post and photos may contain Amazon or other affiliate links. If you purchase something through any link I may receive a small commission at no extra charge to you.
For a long time I didn’t even know how to weave in ends and didn’t know what it meant. My Mimmie taught me and she taught herself. To be honest it was ages before I realized there was much of anything being the single and double crochets out there. In fact I remember getting pretty bored with the whole thing until I stumbled across a pattern book. I took it to my Mimmie and we tried our best to work it out. All of the abbreviations and correct terms really threw us off. We were like screw it. But then at some point I ran across a book with charts. Now those I could understand. Wahoo!

Even after starting to improve my crochet skills arsenal I didn’t know a thing about weaving in ends. And when I saw it somewhere I was like, what do these people do? Because I was taught to knot it a few times and hope it didn’t come undone in the wash. Because sometimes they do.
And so if you’re here, it’s because you need to learn how to weave in your ends. I’ve seen where it can be made very complicated so I took a lot of pictures and I hope that this will be understandable for everyone!
For this you will need:
- Yarn needles
- Scissors or nippers

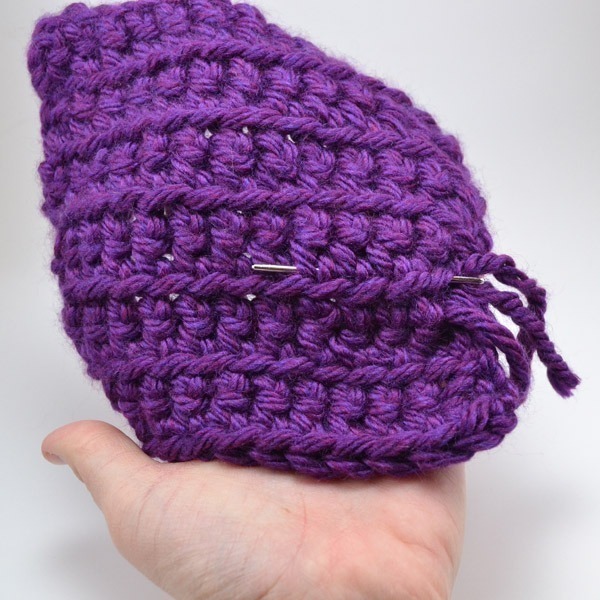
While still crocheting it is a good idea to leave a tail of around 6 inches. With thicker yarn like I’m working with another inch or two isn’t going to hurt.

Threading a needle with yarn that wants to fray like crazy on you isn’t terribly easy. To help, pinch the yarn between two fingers. Cut the yarn as close to your fingers as you can. Now you’ll be threading without all sorts of crazy frizzy stuff hanging off of the end.

Take your needle and shimmy it in between your fingers taking care to also feed the yarn through the eye.

Pull through and you’re set to get it going. It may take you a try or two so don’t feel badly about practicing on pieces of yarn off of the skein. This way you don’t use up all of the length of your tail trying to get your needle threaded!

The first way is to go up through your crochet stitches. I am demonstrating on a single crochet piece and as the stitches are quite small I like to go up through two stitches at a time. Gently pull the needle and yarn through the stitch. You don’t want this to be so tight as it warps the shape of the fabric but not so loose that you have yarn sticking out noticeably.
You’ll want to start with the stitch closest to you so you don’t have any weird trails of yarn across your crochet fabric. I’m showing the second and third rows because the photos came out better.

You’ll move to the stitch or stitches right next to you and go the opposite direction. You’ll weave like this through several stitches. Up through then down through…

After you’ve gone a good couple of stitches over to the side, you’ll need to move up to a different row. We want to zig zag the tail through the fabric rather than having it bunched up in one line. This will make it more difficult to work its way out in the end. To move upward, on an up stitch I go through two at a go instead of one and keep on by threading through with that row of stitches.
And in case that isn’t too clear, because I fear it might not be, when you move up you won’t be going through two sets like you see in the picture immediately above. You only do that to move up. You’ll continue on like the two pictures above this one.

After you’ve woven that business kind of crazy through your stitches, you’ll pull your tail nice and taught so that some of it pulls loose from where you’ve woven it through.

Take your scissors and cut NEAR the crochet fabric but NOT right up against it. You don’t want to risk cutting your crocheted piece! When you cut through, the tail will loosen back up and sort of “suck” back into the piece and it will no longer be visible.

You can also work across rather than up and down through stitches. It’s pretty much the same but you’ll run your needle as shown above.
To change rows you’ll go up through a stitch (or set of them)…
and continue stitching through the fabric. This works up much more quickly but since it seems not as coiled up within the piece, I suggest working in a diagonal fashion toward the opposing corner of the piece because it seems more wound up in there and more secure to me.

The longer the tail the more it will stick out when you’ve adequately woven in. This one was almost a foot long when I started weaving and I have a good 4-5 inches left. It is wasteful of yarn but I prefer it because I never have too little to work with.
You’ll trim this just as above, pulling the yarn taught and cutting NEAR the crocheted piece.

Now this piece desperately needs to be blocked (perhaps will discuss that another day) but at least the ends are woven in and no longer visible! Hurrah!
I use a folded piece of paper over end of yarn & feed that thru the eye of the needle… makes it so easy to thread even the thickest yarn through.
~Tess