This post and photos may contain Amazon or other affiliate links. If you purchase something through any link I may receive a small commission at no extra charge to you.
Crafting has always been one of my favorite things no matter my age. And no matter my age, it seems and just like my friend Mike, I still appreciate the little things that might technically be for children. If you search for milk marbling chances are you’re not going to get a whole lot of adult projects :) This sort of scientific (though I do not understand the science of it at all) craft is lots of fun and makes pretty things. What more could you ask for?
This isn’t the type of project that you’ll do to decorate your home or fancy up something you wear… this is just pure crafty fun. Oh, and kids love it :)
For this project you will need:
- Milk
- Food coloring
- Pan
- Dishwashing liquid
- Paper

I played around with lots of milk including almond milk, whole cow’s milk, 2% cows milk and I think we even tried in cashew milk. It’s been some time since we actually did this :) BUT we really liked the results in 2 kinds of milk. The first was almond milk that had almost expired. It had gotten this crazy thick consistency and the way the food coloring spread was slow and spiderweb-like.
The next milk we liked was whole cow’s milk, very fresh. I think it might be the fat content helps with a thicker consistency that helps the food coloring spread. At any rate, those are our two favorite milks for milk marbling. You just need the tiniest amount… just enough to cover the bottom of the pan completely.
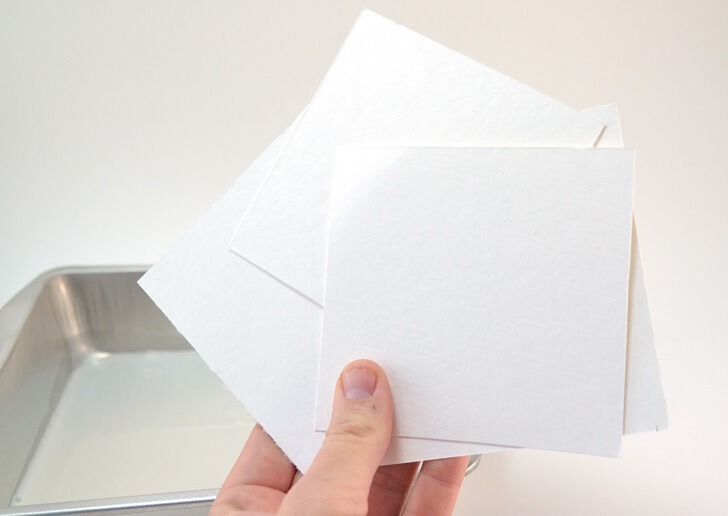
You don’t have to actually make anything when doing this but we wanted to document what we made and grabbed some paper. You’ll need paper that is absorbent. This here is watercolor paper, which you’d think would work really well. But in reality the food coloring and milk just slid off. We wound up using some cheap card stock that wasn’t smooth, more rough. We also though construction paper would work really well, too but couldn’t find any to experiment with.

I’m a huge fan of gel food coloring but you want the cheapie liquid. It doesn’t matter the brand. The cheap stuff works just the same as the name brand.

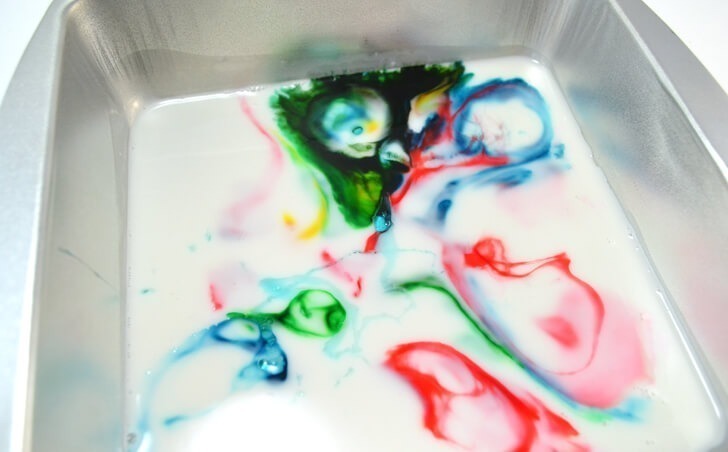
To start you’ll make a few dots of food coloring around your pan of milk. We used a metal 8×8 (I think?) square pan and it worked really well for us. Our first attempt was in a clear glass pie plate and that worked just as well. I don’t think the actual vessel matters quite that much. Use what you have.

Add a drop of dish washing soap to the milk and watch the colors start to run away from it. They’ll swirl and mix and it’s fabulous! Don’t use a ton. Just a decent sized drop is all you need. In fact, a tiny drop can make the colors move, also. A huge glob of soap and you’ve got a mess on your hands and it’s not much fun to watch. If doing this with little kids it might be a good idea to use eyedroppers with soap so they don’t accidentally overdo it.
Isn’t that neat? I took some video but I’m breathing heavily in it (for some strange reason) and I can’t figure out how to mute it so it’s dang creepy. You’ll have to do it yourself to watch the colors move :)
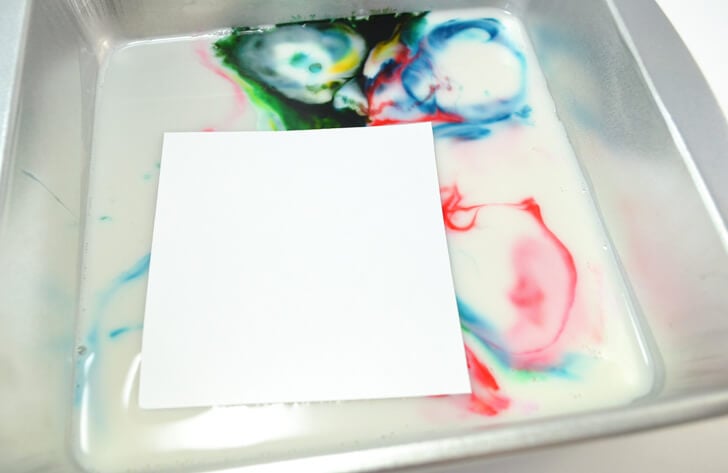
Place the paper on top of the milk and coloring.

Pull straight up out of the milk and you’ve got a copy of your design in the milk! This is from the watercolor paper that didn’t want to play nice so the color didn’t really take.

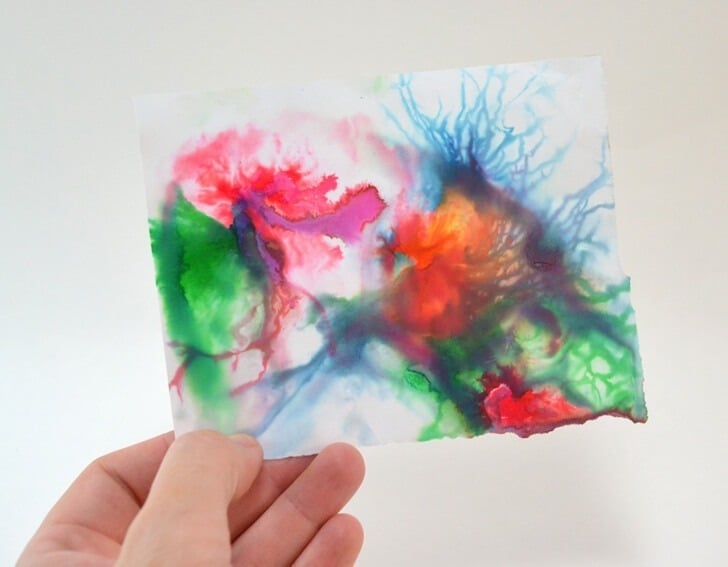
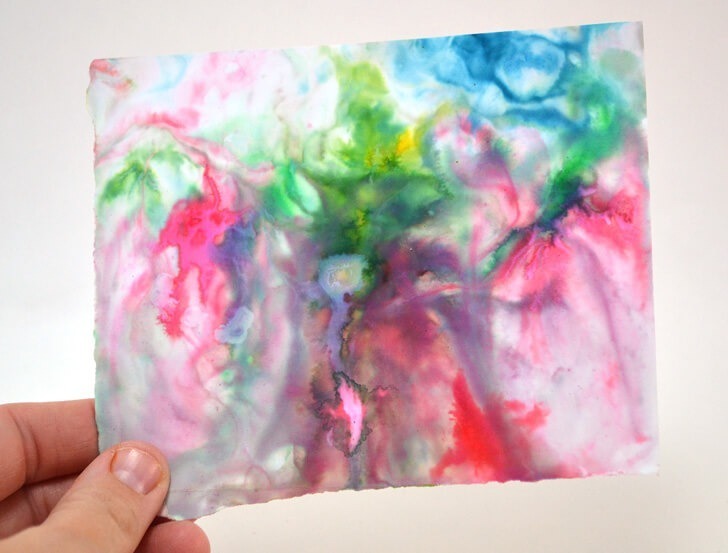
But another couple of turns and better paper and we had some awesome shapes. The one below is from almond milk that was nearing expiration and was really thick. See the spidery shapes of the blue? It was SO COOL! (The pic above the tutorial is from cow’s milk and is a bit softer).
In the end we had tons of fun and made little cards to document how much fun we had. We might be in our thirties, but we sure as heck know how to ROCK a kid craft :) Happy milk marbling!
