This post and photos may contain Amazon or other affiliate links. If you purchase something through any link I may receive a small commission at no extra charge to you.
These days I love all things spiders. Which is kind of odd because I used to be so afraid of them. But these days I have no problems with little spiders hanging out around my house. They eat flies, after all, or so I’ve been told. And I hate flies more than I am scared of spiders :)
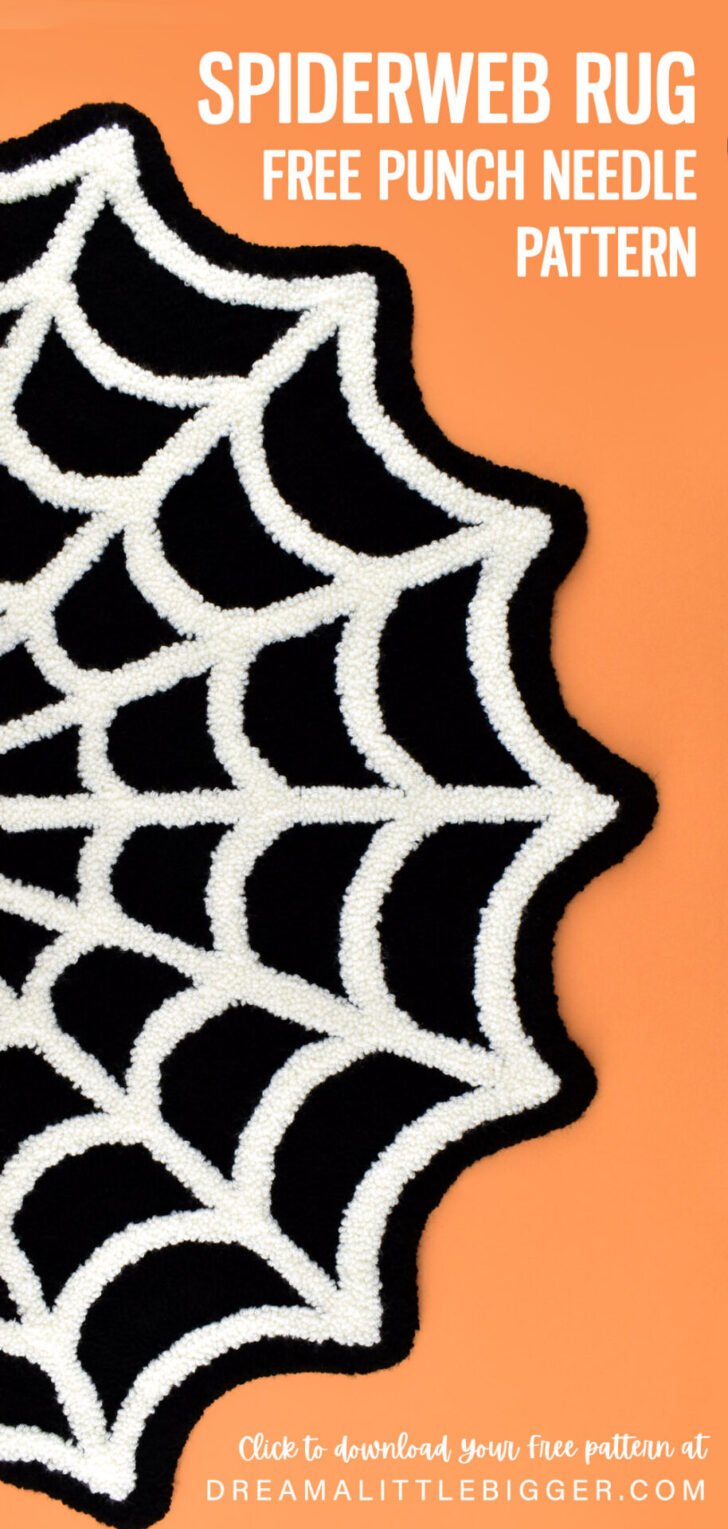
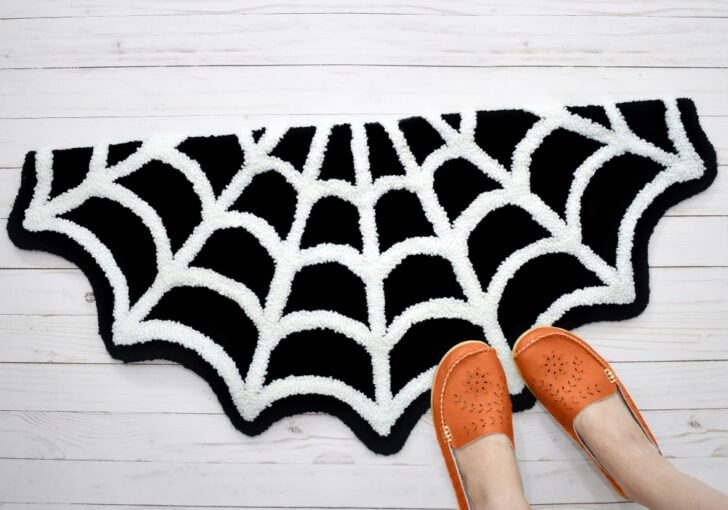
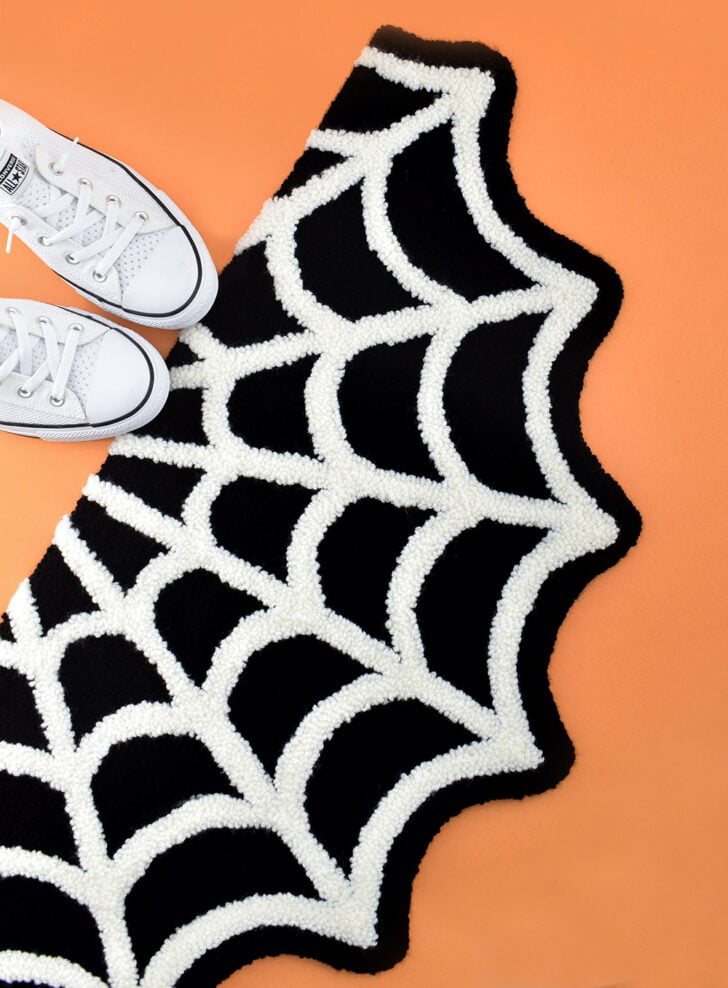
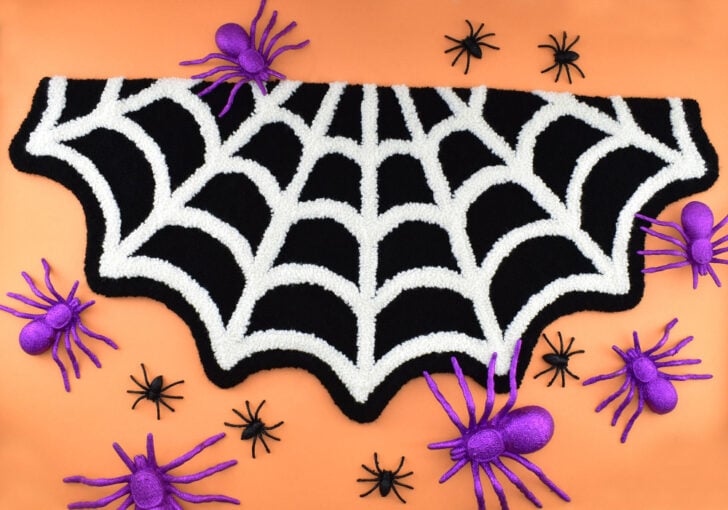
With my newfound appreciation of the little 8-legged guys, I’ve been on a bit of a spiderweb crafts tear. Here’s today’s most recent project… the Spiderweb Punch Needle Rug.
To Make This punch needle Spiderweb rug you will need:
What is a Punch Needle Tool?
A punch needle is this handy wooden handle with a metal shaft that yarn runs through a metal eye, in through the needle and down through a hole in the metal tip. I currently have and use an Oxford Punch Needle which is basically like the Ferrari of punch needles. An Oxford will run you around $40 but it’s a sleek tool that won’t give you any trouble with yarn getting stuck.
I’ve ordered this Wool Queen brand punch needle which is much cheaper but I sent it back the same day I received it. The metal bit wasn’t as smooth as an oxford and it would occasionally get a bit stuck in the cloth. Worse was the fact that the inside of the wood handle was coarse and the yarn kept getting stuck on the rough bits and wouldn’t properly feed through.
Why 2 Sizes of Punch Needle?
Using 2 punch needles for this snowflake rug is totally optional. I like to have some variation in the length of the loops so that there is added texture to the design.
For the white snowflake I used a #8 punch needle which has a 1/2″ loop. The red background was punched using a #10 punch needle which has a shorter 1/4″ loop. This makes the snowflake stand up about a quarter of an inch higher than the background.
I LOVE using 2 different loop heights to add some character to a simple 2 color design, but you can punch the entire rug in any size loop, with any size punch needle you prefer.
Need a Little More Information about Punch Needle in General?
I’ve got a whole post dedicated to learning how to punch needle, so check that out!
Free Printable Punch Needle Patterns Are Available to Our Newsletter Subscribers
Newsletter subscribers get this and other files at Dream a Little Bigger for free. (Yay!) Not a member? Signing up is easy and costs nothing. Enter your information in the form below below to join our growing community of makers. You’ll get this freebie emailed to you. As a member you’ll also get post updates, tips and tricks, craft & DIY inspiration, and more sent right to your email a few times a week. Questions or download issues?

Spiderweb Punch Needle Rug Pattern
Sign up for our newsletter and you’ll get an email to download your free file.
How to Print Your Pattern for Use
When you download the free pattern above you’ll get a ZIP file with 2 different options for printing your rug.
The first option is to print pages 2-11 of the letter-sized PDF black and white on your home printer.
(Don’t print the first page, it’s just a photo, link the the project, and quick recap of these directions and will use up ink unnecessarily.) Make sure that when printing your PDF reader doesn’t scale down the design to “fit” on pages. Once printed, trim the pages so that there are no margins. Overlap the pages and form a large pattern using transparent tape.
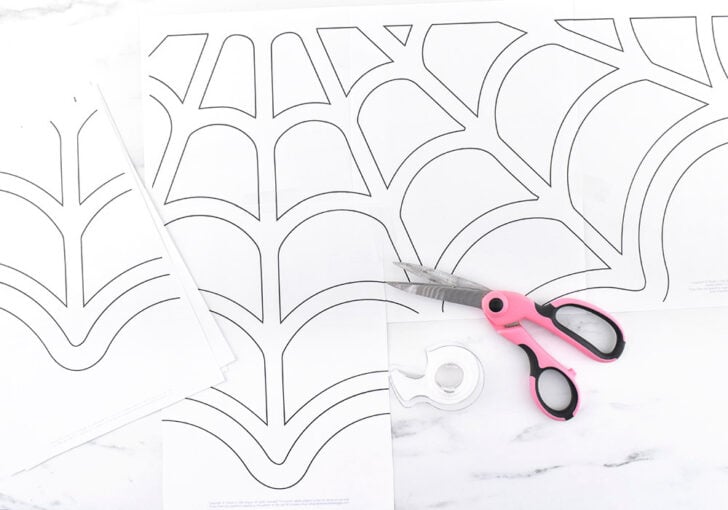
This is a great option if you don’t want to go out and just want to get this done at home. Because printer ink can be expensive this pattern is simply a line drawing to keep from using a whole lot of your black cartridge.
The next option is to order a black and white engineering print/blueprint that measures 2′ x 3′.
This is the easiest method but will cost you around $4 to pick up in store and a little more to have shipped directly to your home.
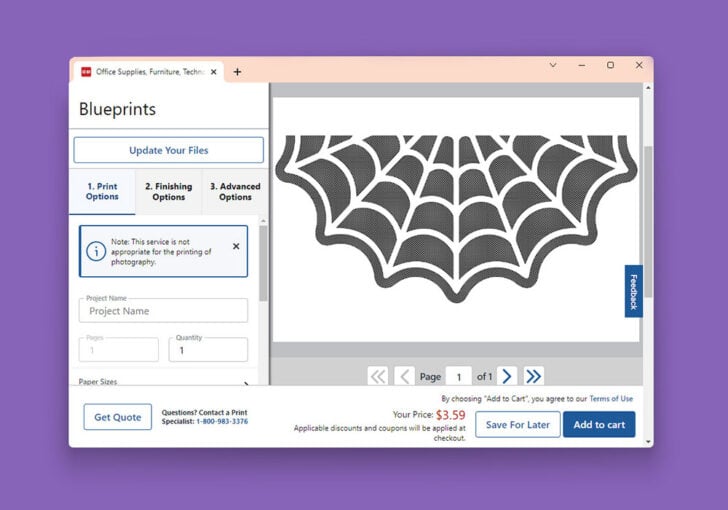
Since the cost remains the same regardless of how much ink is used, this pattern has a black and white dotted pattern inside of the areas to punch your background color (for me that was black). In all honesty, I much prefer to have these large prints over piecing a pattern together out of letter-sized sheets. Since my Office Depot, where I order my large-scale and inexpensive engineering prints is right next to Target I use it as an excuse to visit the Dollar Spot :)
Transferring Your Design to Monk’s Cloth
Note – This heart-shaped leopard print punch needle rug post shows photos for transferring your design to monk’s cloth if you do better with visuals.
The easiest way to transfer your spiderweb rug design to monk’s cloth to punch is by taping your pattern onto a large glass window or door using masking tape. Next tape an appropriately sized piece of monk’s cloth over the pattern. Whenever the sun is fairly bright you can easily trace the design onto the monk’s cloth using a fabric marker or permanent marker that matches your yarn colors.
Which brings me to…
Selecting Colors for Your Rug
Since this is a rug that won’t be down more than a month out of the year I decided to go with inexpensive Red Heart Super Saver Yarn. I wanted the design to really pop, even from a distance, so I went with a white web on a black background for my colors. I had also considered lime green on dark gray, white on purple, and orange on black. In the end I went with what I already had in my stash… black and white Red Heart Super Saver Yarn.
Note – Things are starting to get crazy expensive again! Having a look around the best prices I could find for Red Heart Super Saver yarn was at Walmart and during the 30% off yarn sale week at Michael’s.
Building a Frame to Hold Your Monk’s Cloth
To punch your spiderweb design you’ll need a frame to hold your monk’s cloth nice and taut. My frame measured 23″ x 42″ along the outer edge and 20″ x 39″ inside of punchable space.
The easiest way to create a punch needle frame…
Without needing tools like a saw the easiest way is to use 4 artist canvas stretcher bars in the appropriate lengths. You can buy these online but they tend to be much cheaper at stores like Hobby Lobby. Larger stretcher bars, like 48″ ones, even at Hobby Lobby where they tend to be the most affordable will cost you around $7 apiece. Purchasing two 48″ bars and two 24″ bars from Hobby Lobby to make a punch needle frame would cost around $20 just for the frame. But remember you can take these apart and easily store them to make another custom sized frame for future punch needle projects.
Although they may not have the exact size you’re hoping for you might need to make your frame a bit larger which can make it more unwieldy. But these stretcher bars slot together so that you just pop them together to form your frame and you’re done! For
The cheapest way to create a punch needle frame…
Costing $2 or less for one 96″ piece of lumber, furring strips are a super inexpensive way to build your own frame. For a frame as large as ours for a rug you’ll need to buy two 1″ x 2″ wood furring strips. If you don’t have a saw, or just don’t want to fuss with it, take your lengths needed to your local big box hardware store where they will also cut your lumber to size for a nominal charge (if they charge at all).
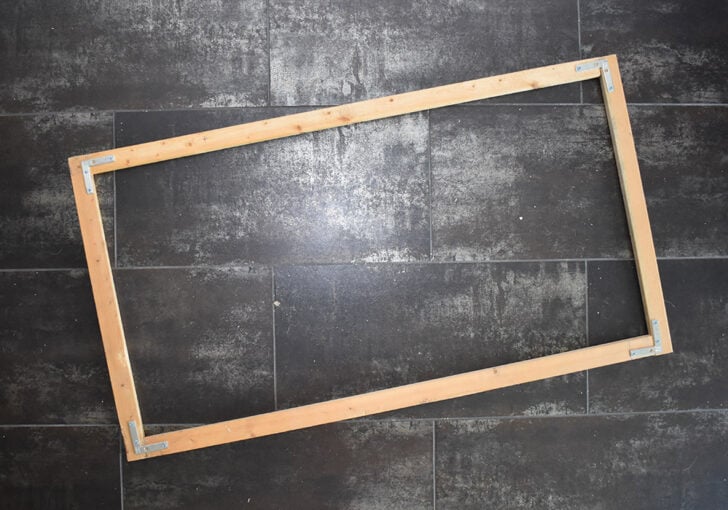
Rather than cutting the frame to have fancy mitered (angled) sides that fit together, simply straight cut. You can attach the frame together using your staple gun then screw a flat corner brace in each corner overlapping the two pieces where they form the corner to make it extra sturdy. If you have a power drill you’ll knock this out in no time but you can also use a handy dandy (and cheap) screwdriver.
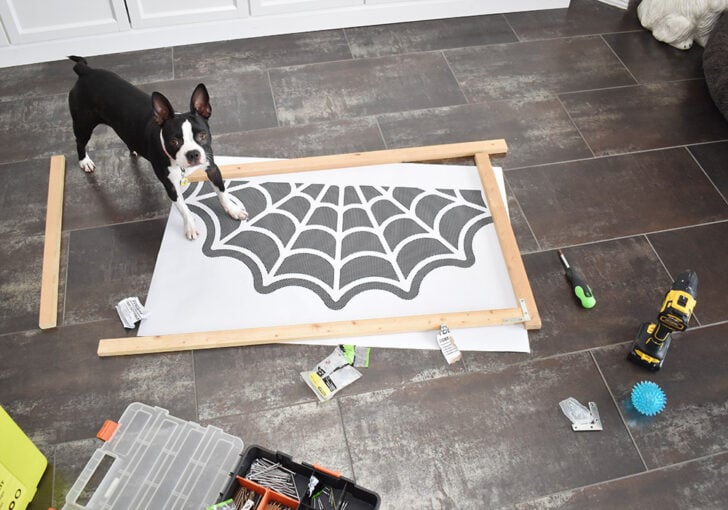
Since I have plans to create a few rugs in the next several months…
I’m going to keep this frame just like this and hang it from the wall in the garage for future use. With my metal angles costing $2.48 at Walmart and my wood coming from my scrap lumber this frame cost me less than 3 bucks! If I did have to buy the wood, it would have only increased the project to around $6 so that is still a win!
And once I’ve punched all of the rugs I have planned, I’ll take everything apart, add it back to my stash to use again another day!
Framing your Monk’s Cloth
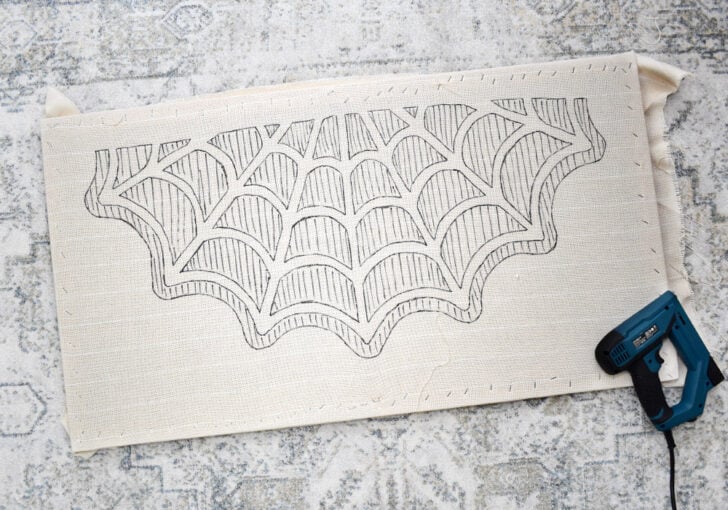
Place your monk’s cloth with the design transferred to it onto your frame, centering as well as you can. Tack the cloth around every inch or two using your staple gun, stretching the cloth just enough to keep it nice and taut on the frame. Wrap the cloth around to the back of the frame and tack down again.
Note – While I use my powered staple gun to tack the wood frame together, (when I can find the darn thing :) I prefer using my light duty hand stapler with light duty staples to attach the cloth to the frame. You’ll need to pull these staples out to remove your punched rug and the heavy duty staples are a royal pain in the rear to remove once you’re done.
Punch Your Design
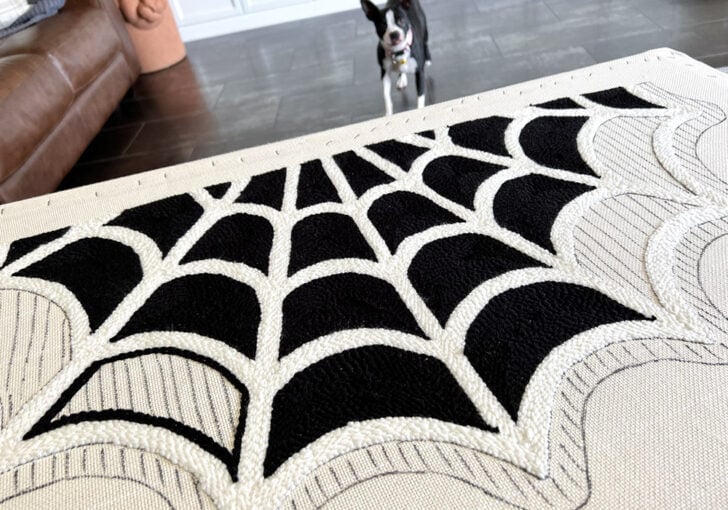
Because this frame is rather large it can be kind of a beast to hold up. I sit on my sofa and place one side on the arm. I’ll place a box in the center of the sofa on the other side to rest the other side of the frame. Or I’ll rest the other side on an ottoman that is a little bit higher than the seat of the sofa. Voila! Two ways to easy punching without stabbing myself in the thighs. :)

Finishing Your Spiderweb Rug
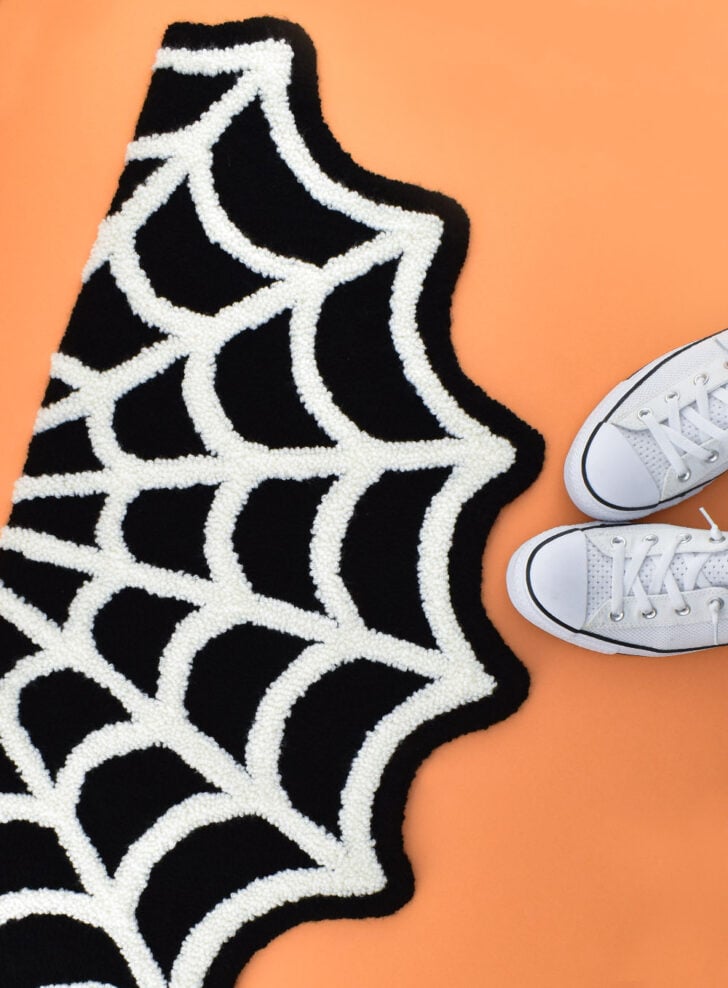
Remove the staples from your monk’s cloth and frame. Working one edge of the design at a time, cut the cloth about 2″ away from the punched edge. Fold the cloth underneath so that it is no longer visible. Stitch into place using beige embroidery floss. When working on the curved sides, cut each curve as you go. Monk’s cloth is notorious for unravelling and is best cut just before sewing it down into place.
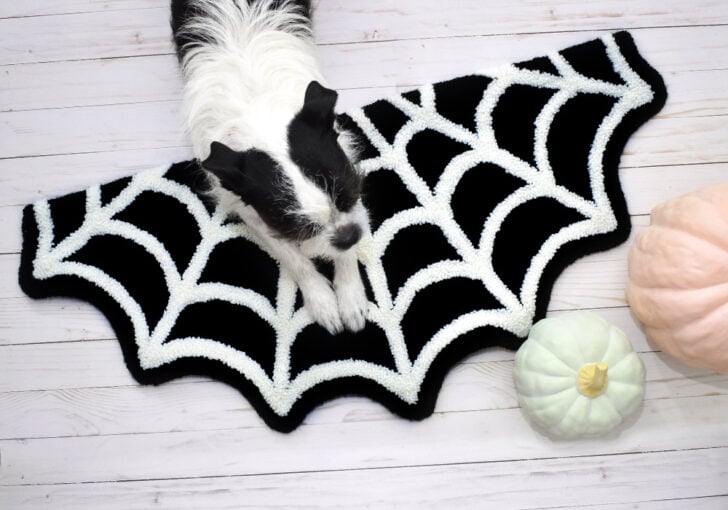
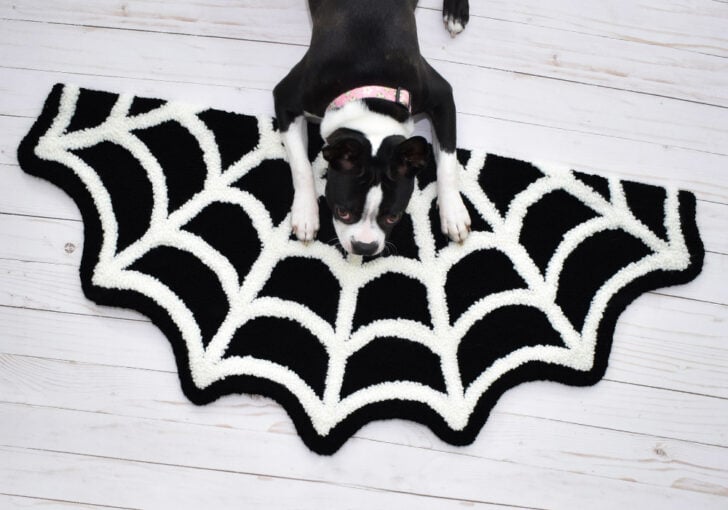
Lay your rug down indoors or in covered outdoor areas where it won’t get wet. I guarantee it will be the most fun Halloween rug you’ve got lying around. AND it will be your pets’ favorite place to be. At least until you make a newer punch needle rug!
