diy-wood-yarn-color-card-organization-dreamalittlebigger-06
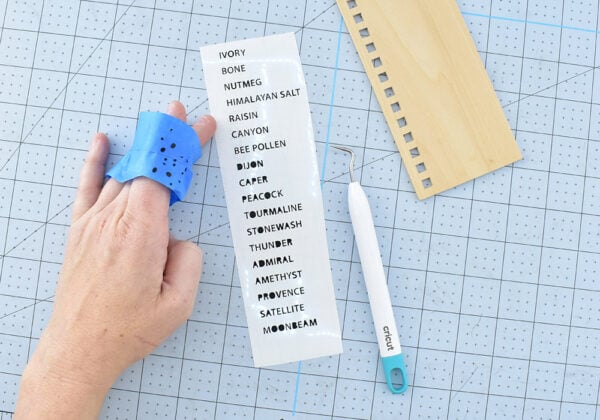
Using the Cricut Design Space File, swap out the “Yarn Color” line for the name of your yarn. If using the SVG cut files you can still head over to the design space file to get the proper spacing. If you’re using another cutting program, or if you just prefer to do it yourself, type up the names and play with the line spacing until the names will sit next to the boxes on your cards.
Weed away the excess vinyl making sure to get the little bits inside of letters like B. Apply a piece of transfer tape on top of all of the vinyl names. Use a scraper to burnish the vinyl onto the transfer tape. Slowly peel the tape upward. Lay the tape back down and apply more pressure to any letters that do not come away with the tape.


