
This post and photos may contain Amazon or other affiliate links. If you purchase something through any link I may receive a small commission at no extra charge to you.
I kind of figure the galaxy thing isn’t going to go on too much longer so I’m all up in it while it’s not got all of the stigma of a fanny pack. I made up some galaxy Easter eggs that, quite literally, took the blog down over and over again as my site wasn’t equipped to handle over 160K+ visitors in a day. It was, in a word, awesome :)
Right now I’m all about just about anything with embroidery floss. I’m wrapping it around business and embroidering and cross stitching like a fiend. It’s my crafty crack right at this moment. And when I decided I wanted to try and stitch up a bracelet I went online and looked and looked for a galaxy pattern before realizing, hey, I can go to pic2pat and make my own! And so I did!
You can totally make your own pattern, if you wish, or you can use the one that I created here.
Now I initially started stitching this on black aida but since I mostly like to stitch in the evenings I found myself having a bunch of problems actually seeing where to stitch. I wound up scrapping that puppy and changed to a light blue instead. I like it better than I would have white but I wish my house had better lighting for night stitching :)
At any rate, let’s get this out of this world galaxy cross stitch cuff started, shall we?
For this project you will need:
- Aida, 14 count
- Galaxy Cross Stitch Cuff PDF Pattern (or make your own)
- Embroidery floss (see chart in PDF)
- Felt
- Elastic
- Needle & thread or fabric adhesive (I’m currently nuts over Fabric Fusion Tape)

Now the pic2pat patterns come out on several pages. I lose things so I decided to cut out and glue everything to 1 piece of paper. Less to keep up with means less to lose!

I liked this galaxy pattern because I only needed to purchase 8 skeins of floss. A few that I had hashed out used 14-25 skeins and that’s just nuts. This is just a bracelet, after all, and skeins are around $0.42 apiece!

I am a DMC snob, as you can tell so I only buy DMC :)

Cut a piece of aida about 2×8 inches. I know you’re supposed to start in the middle but I don’t do that. Never have and never will :)

Stitch ‘er up. Take your time and enjoy it :) This is a bit more difficult to follow than a pattern where you can easily guess what stitch is coming up next. It’s not like any small mistakes are going to be hugely visible so if you do a stitch in the wrong place, no sweat. I have probably 10 out of place and after ripping them out I finally just decided I could live with it!

Using a hot iron press down the sides of the aida.
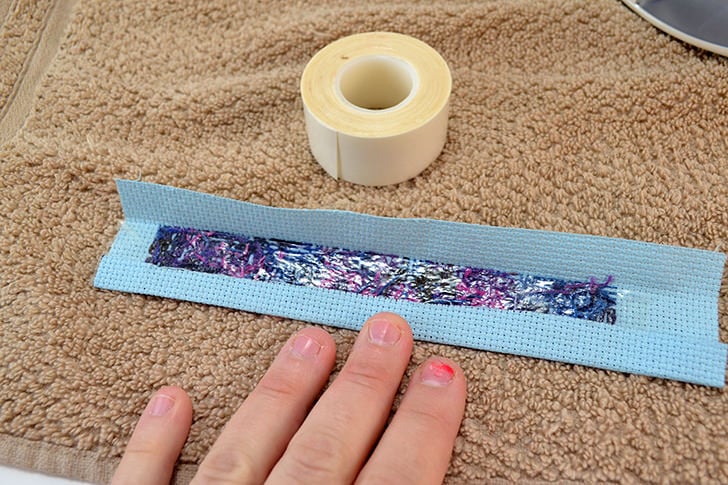
Your fabric glue will help keep the backside pieces on correctly. You can also stitch it closed if you prefer but this is so much faster!

Trim the ends to look like an envelope and use glue to seal them down.

The backside hardly needs to be pretty but here is about what you’re going for.

And this is what it looks like from the front!

Using your glue or stitching to apply your elastic, and then do the same to apply a piece of felt to the backside of the bracelet to make it nice and soft against your skin.

In the end you’ll have something like this!
Pop it on and this sucker is done and done!

I love this Allison! I’m a big fan of astronomy and this bracelet fits into my category of total coolness!
And I don’t mind saying that I like bracelets as there are ones for guys too. I often wear the bracelets that my
pen pals sent me. :)
Long live the galaxy crafts!!