
This post and photos may contain Amazon or other affiliate links. If you purchase something through any link I may receive a small commission at no extra charge to you.
Ages and ages ago (or just last year, really :) I was staying the summer with my parents and I went into IKEA with my mom and dad and came out with so. Much. Stuff. I got baskets and picture frames and outdoor rugs and also a few tables to DIY while I was in Houston and then life got crazy. And I forgot about all of this stuff in my parent’s garage.
When we passed through Houston to visit the family in Oklahoma for Spring Break I grabbed a few of these things including my little IKEA Rast 3 drawer chest. Now what I wanted to do with this originally (and still want to do eventually) isn’t what actually happened. After noticing that Rob had a dinky little nightstand, that while very pretty had just the tiniest of drawers and a very small tabletop that was mostly taken up by his lamp. So I decided to go all mid-century modern, after realizing this was a style that both Rob and I could fully get behind for bedroom decor, on my little IKEA Rast and now it’s his super fab and totally spacious nightstand!
For this project you will need:
- IKEA Rast 3 Drawer Chest
- White paint
- Wood stain (I used Special Walnut)
- Casters
- Gold spray paint
- 1″ thick white wood board
- #6, 1/2 inch wood screws

Here is my little chest still in the box. It’s actually real wood (except for the slides which are plastic) and it’s a super great value. I actually got this sucker on sale for one of the IKEA family card holders (anyone can get one and save some money here and there for free). I want to say it cost me about $25. Not bad, right?

I got a little help from my puppy and the chest came together quite easily. To be truthful the puppy was no help at all! You can totally do this alone :)
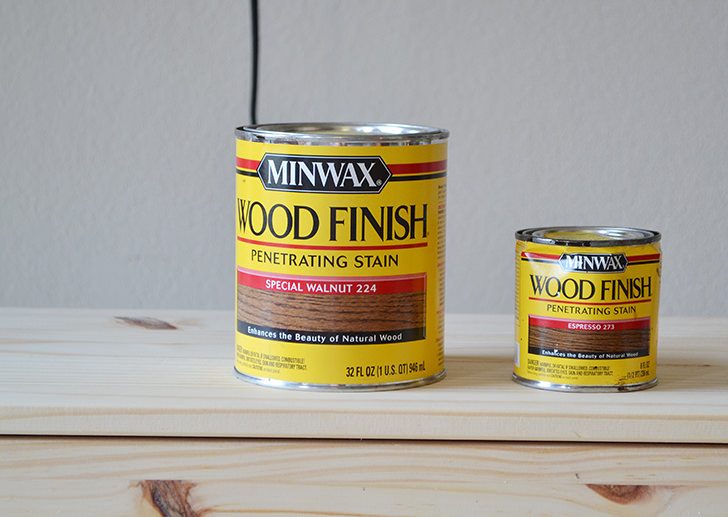
Now I had the hardest time choosing the stain for this project because it’s going to be used a lot in our bedroom furniture. In the end I went with Special Walnut 224 over Espresso just because there’s a lot more of it. And I’m trying to save the crafty dollars by using more of what I have. And it’s so hard, y’all :)

With drawer fronts stained, it was time to get to the chest itself. Now I wound up staining that bottom piece that is still natural on the chest walnut before I got to painting simply because I realized that would be a lot of white, and super noticeable on the front if I painted it, too…

So I taped stained that part and taped it off and then painted the rest of the exterior of the chest white.
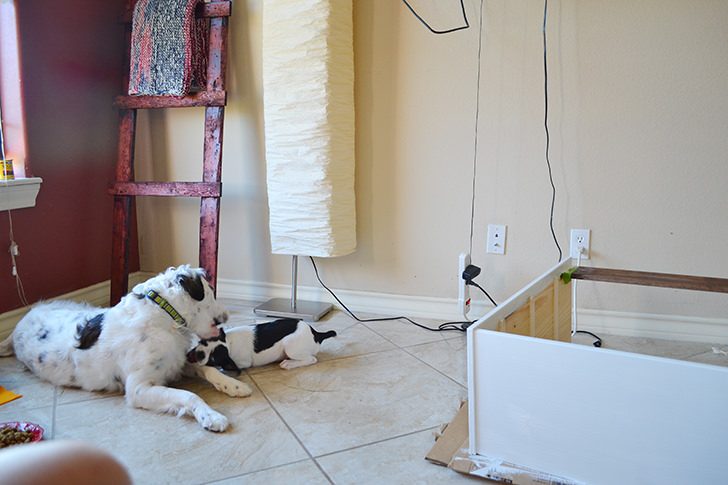
And just in case you’re wondering what goes on around here while I work, well, it’s this in a nutshell.
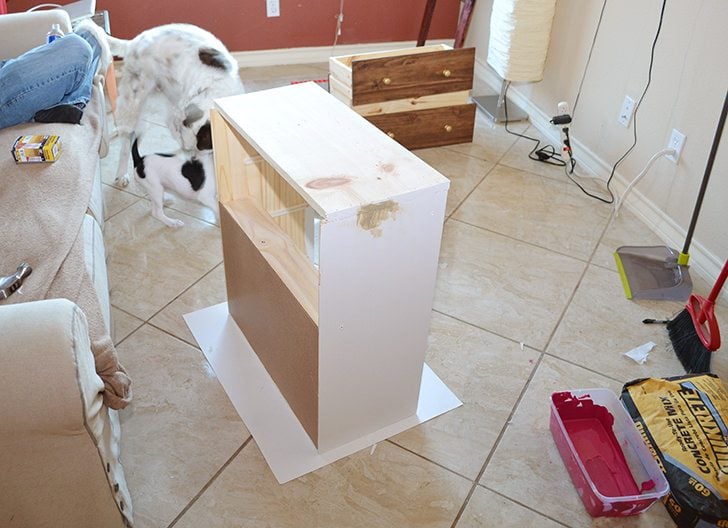

I had Rob cut a piece of 1 inch white board to fit the bottom of my dresser and I painted the sides and a little bit of the top white. Now I used this Ovation from Sherwin Williams at Lowe’s because it’s paint and primer in one and it took me 2 coats to get the perfect white surface. That first coat I wasn’t very happy with the paint but after the second I think it’s a brand I might buy again…
Now this is a 12″ board and I needed a piece 11.75″ wide and I hoped that this would be right after finishing… quick tip – a piece of wood that says it is 1″ thick will actually be less than that in hand because the measurement is before the wood is finished into a nice, smooth board. So when it says 1″ or 12″ it’s actually less than that. The more you know! :)
As it turned out it was only 11.5 but since it’s the bottom I didn’t fret too much and just evened the board up with the front of the chest and tacked it on with finishing nails about 1 1/4″ long.
Again, look at all that craziness going on. I’m tacking wood onto a chest, the dogs are going nuts and Rob is just calmly hanging out keeping me company while I totally take over the living room. Pretty nice, isn’t it?
Oh, and I totally whacked a nail at a wicked angle so I had to pull it out and redo it. It also meant I had to patch the side of the chest up and touch my filled in spot with white paint again but it was no big.
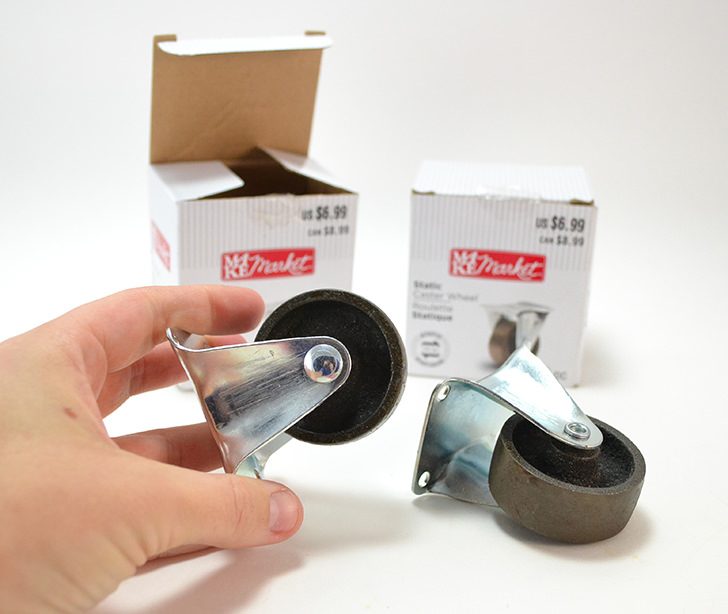
Now I got these casters ages ago from Michael’s. They were originally $6.99 for 2 and I was all, NOPE. But when they went on clearance at 70% off and then were on special for another 20% off I snapped up the only 2 sets they had left for $1.68 a pair. Now that’s quite a steal!
I wanted to add height to Rob’s nightstand and I couldn’t find any table legs I liked so I busted these babies out and gave all of the silver metal a coat of metal primer followed with gold spray paint.
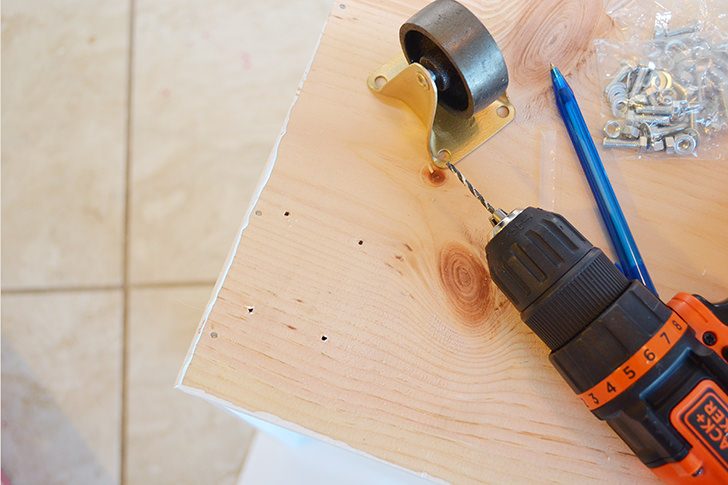
I figured the placement for the wheels and pre-drilled holes. I used a 3/32 bit.
Using #6 wood screws 0.5″ wood screws attach the casters to the bottom of your chest.
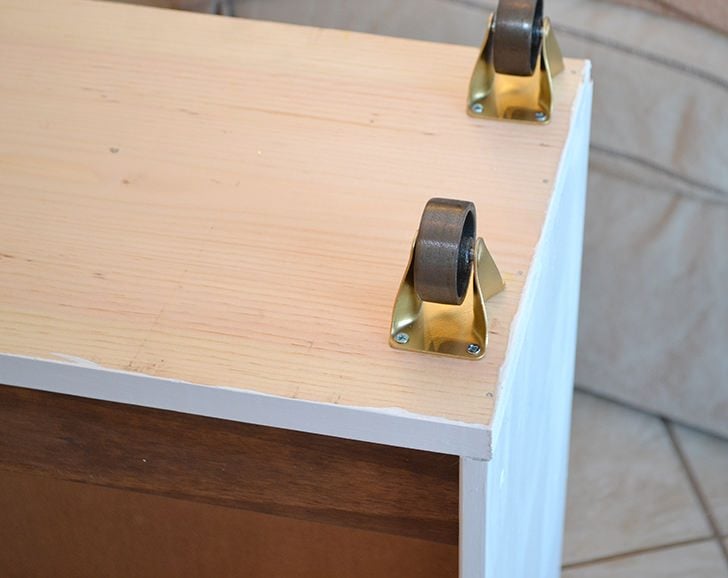
Now I put these on wrong. That is to say I thought it would be nifty to be able to pull the chest straight out to easily sweep beneath it so I put the wheels on facing forward. It was only after I chased the darn thing across the living room trying to get the drawers back in, and continually shoving the darn thing backward that I realized that this little idea was a bust :)
The wheels were removed and placed to run side to side and all was well again :)

Now we went and bought $15 worth of hardware from Hobby Lobby to put on but dang if half of them broke while I was trying to put them on. So those hunks o’ junk are going back to the store so I can get my money back! Rob mentioned that I could just paint the knobs that came with it gold for now and since that was a $0 cost solution I went with it!

And there she is, my IKEA Rast hack is all mid-century modern looking and for a fraction of the price. Plus I didn’t have to actually paint a mid-century modern piece, which is something I’m currently wrestling with for the table that will go on my side of the bed. I guess we’ll just have to wait and see how that one plays out, but until then Mr. Rob is so happy with his nightstand. I’ve got it all set up with his books and he’s got a fab brass turtle case to keep bits and bobs in. It looks pretty so I’m happy and it works well so he’s happy. For less than $40 (with the paint) we have a nightstand we both love and I’ve got the materials to go mid-century modern on more of our bedroom furniture. Yay!
